Equipment Guide
-
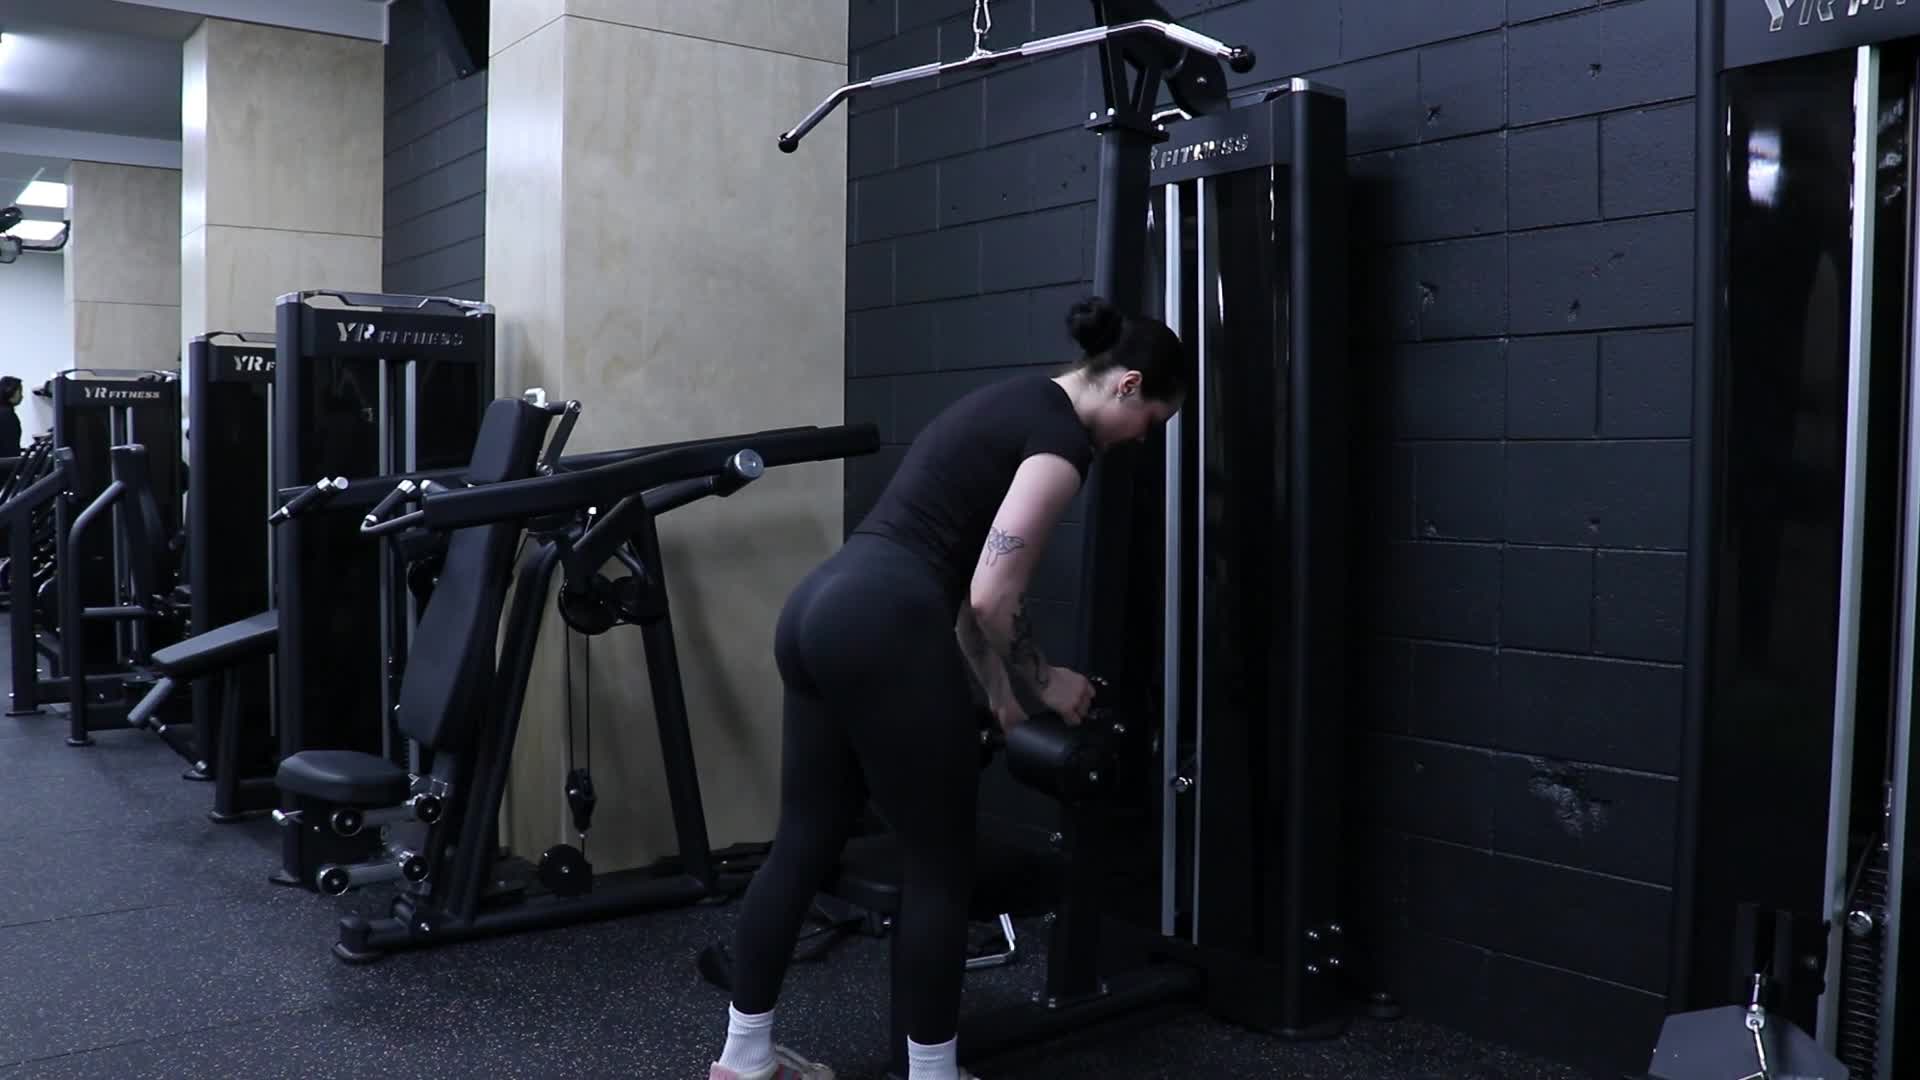
Lat Pulldown
What is it?
The Cable Lat Pulldown is a compound upper body exercise designed to build strength and muscle through the back and arms. The cable system provides smooth and consistent resistance, allowing you to perform multiple grip variations to target the back from different angles.Primary Muscles Worked
Latissimus Dorsi (Lats)
Biceps
Rhomboids (Middle Back)
Trapezius (Upper & Middle Back)
Rear Deltoids (Secondary)
How to Use
Wide-Grip Pulldown: Adjust the thigh pads so your legs are held securely in place and sit comfortably facing the machine. Grip the bar slightly wider than shoulder-width apart with your palms facing forward. Keep your chest lifted and pull the bar down towards your upper chest by driving your elbows down and back. Slowly return the bar to the starting position under control.Close-Grip Underhand Pulldown: Use a close-grip attachment with your palms facing towards you. Keep your chest lifted and pull the handle down towards your upper chest by driving your elbows down and back. Focus on squeezing your lats and biceps before slowly returning the handle to the starting position.
Single-Arm Pulldown: Attach a single handle to the cable and grip it with one hand. Keep your torso stable and pull the handle down towards your upper chest or side by driving your elbow down and back. Slowly extend your arm back to the starting position, allowing your lat to stretch before repeating. Complete your repetitions on one side before switching arms.
Coaching Tips
Keep your chest lifted and avoid excessive swinging or leaning.
Pull the bar or handle towards your upper chest rather than behind your neck.
Drive your elbows down and back rather than pulling only with your hands.
Keep your shoulders down and avoid shrugging as you pull.
For single-arm pulldowns, keep your core engaged and avoid rotating your torso.
Use a controlled tempo and avoid using momentum.
Allow your arms to fully extend at the top of each repetition for a controlled stretch.
-
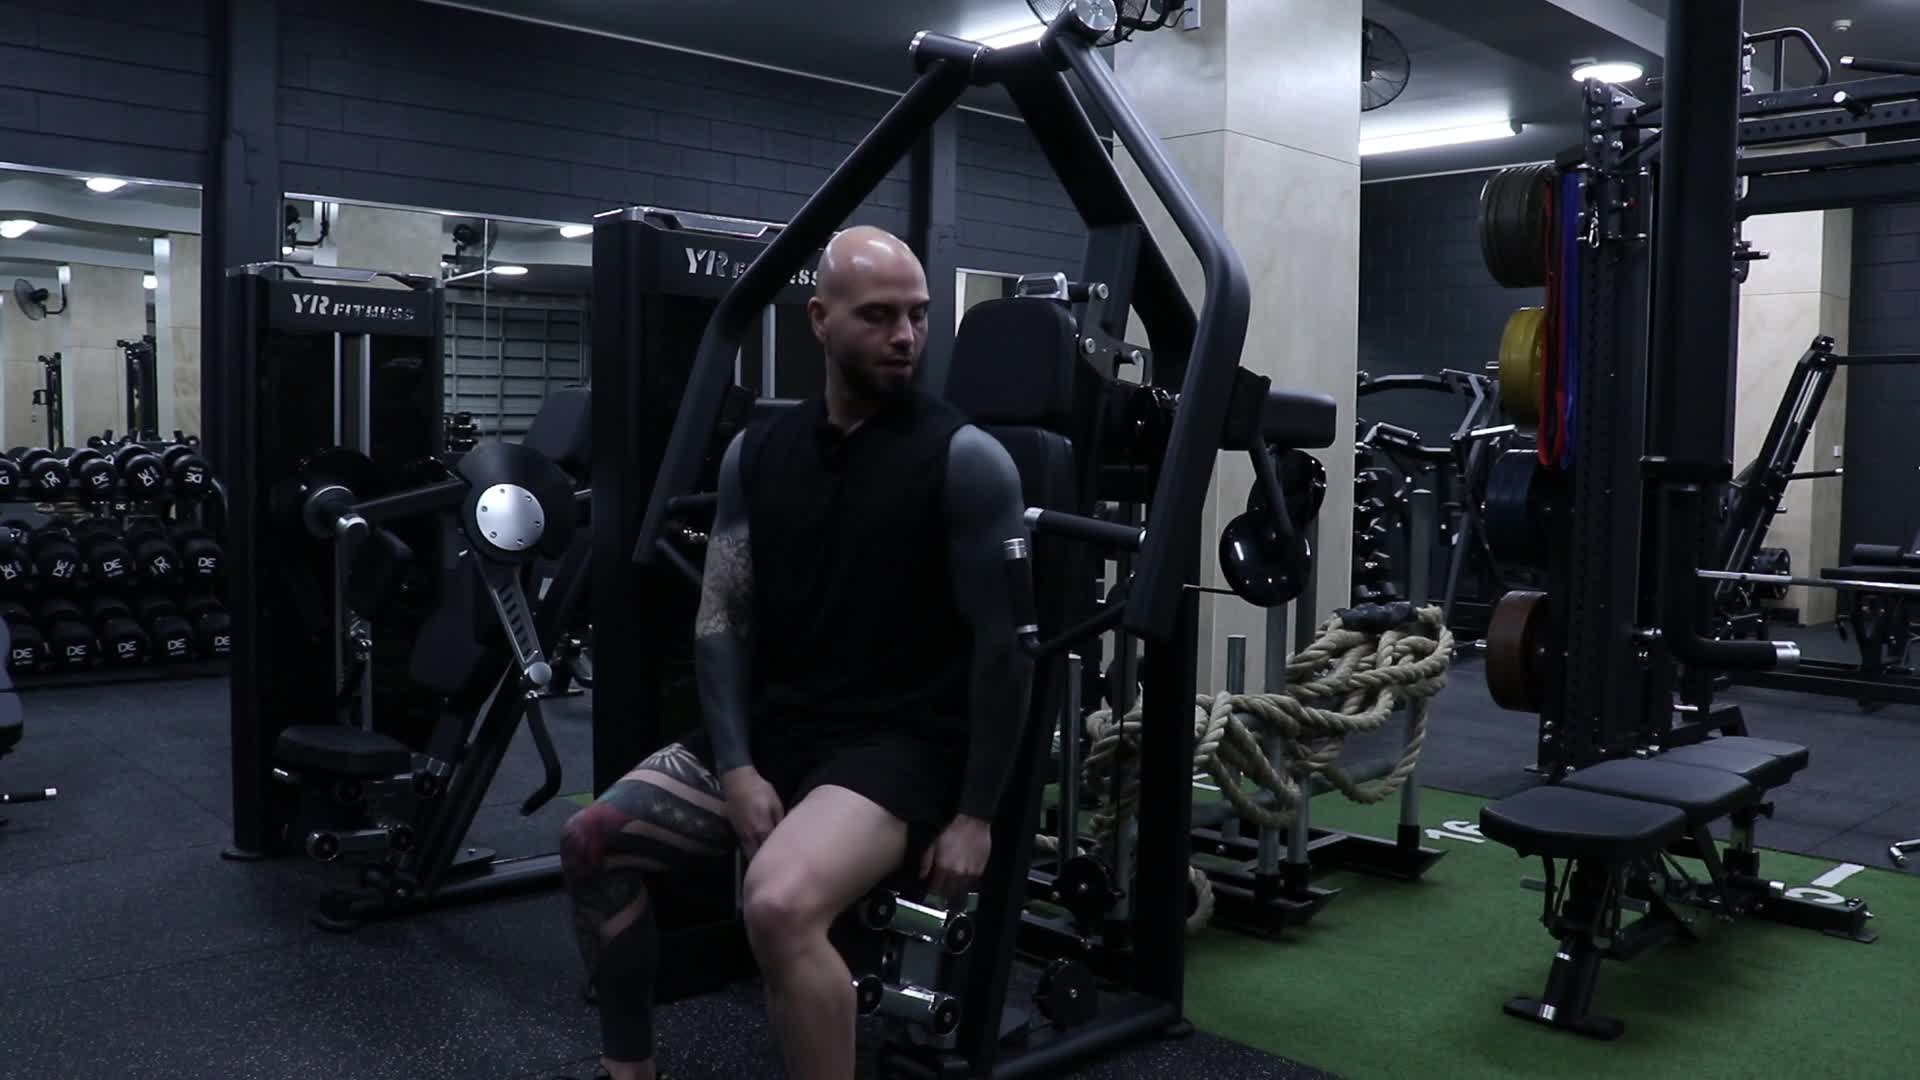
Seated Chest Press
Strengthen and stabilize your core with this dynamic flow that blends mindful movement and breath. Ideal for building inner strength, balance, and body awareness without high intensity.
-
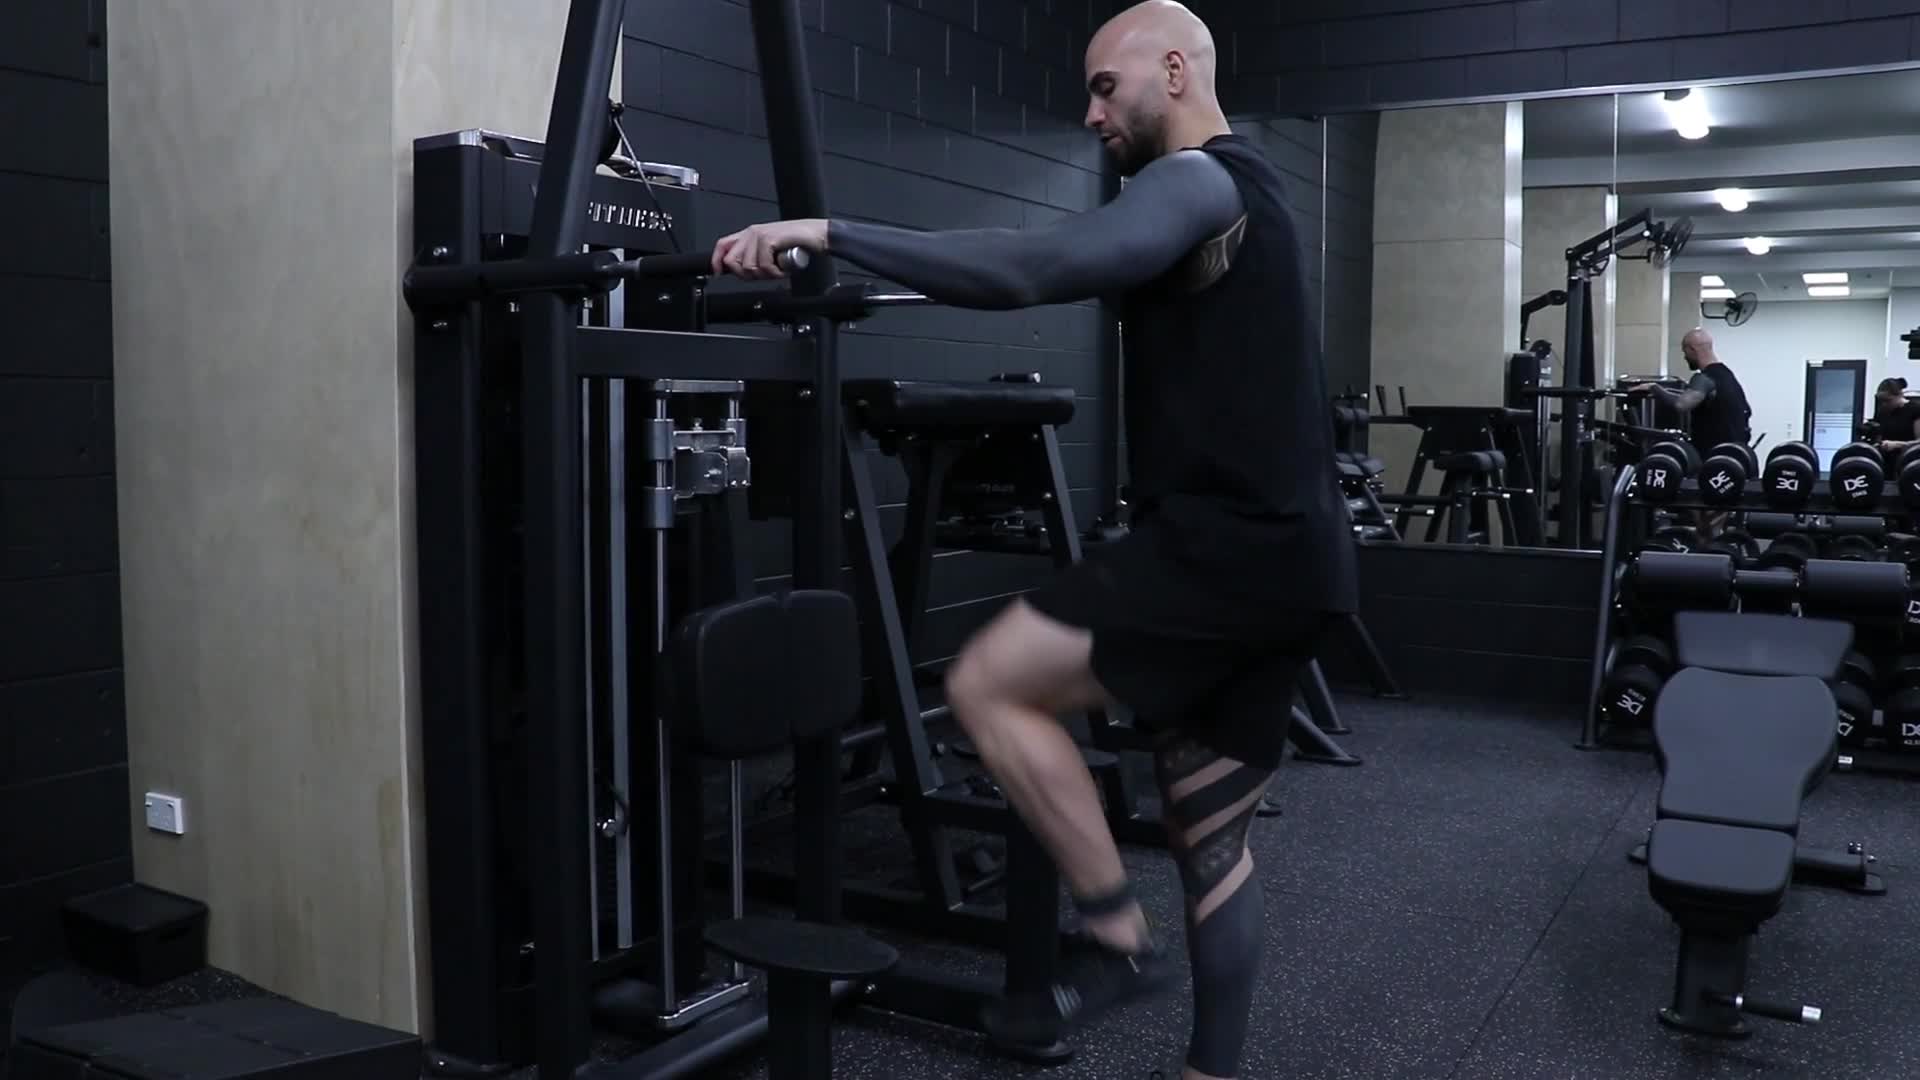
Assisted Chin/Dip Machine
What is it?
The Assisted Chin/Dip Machine is a versatile upper body machine that provides adjustable assistance during chin-ups, pull-ups, and dips. The assistance platform helps support your body weight, making these exercises more accessible while allowing you to gradually build the strength needed to perform them independently.Primary Muscles Worked
Chin-Up / Pull-Up:
Latissimus Dorsi (Lats)
Biceps
Rhomboids (Middle Back)
Trapezius (Upper & Middle Back)
Rear Deltoids (Secondary)
Dip:
Chest (Pectorals)
Triceps
Front Deltoids (Front Shoulders)
How to Use
Chin-Ups / Pull-Ups: Select the desired assistance weight, keeping in mind that a higher assistance weight makes the exercise easier. Adjust the handles to your preferred width and grip position. Step onto the assistance platform (if required) and place your knees or feet securely on the pad. Grip the handles and allow the platform to support your body weight. Pull yourself upwards by driving your elbows down and back until your chin reaches or passes the handles. Slowly lower yourself back down under control before repeating.Dips: Select the desired assistance weight and adjust the handles to a comfortable position. Step onto the assistance platform and position your knees or feet securely on the pad. Grip the dip handles and support your body with your arms. Lower yourself by bending your elbows until you reach a comfortable depth, then press through your hands to return to the starting position.
Coaching Tips
Use enough assistance to perform each repetition with good form and control.
Remember that more assistance weight makes the exercise easier, while less assistance makes it more challenging.
Adjust the handles to a comfortable width before starting.
For chin-ups and pull-ups, drive your elbows down and avoid swinging your body.
For dips, keep your shoulders controlled and avoid dropping too deeply.
Lower yourself slowly and avoid allowing the assistance platform to move abruptly.
Keep your movements smooth and controlled throughout each repetition.
-
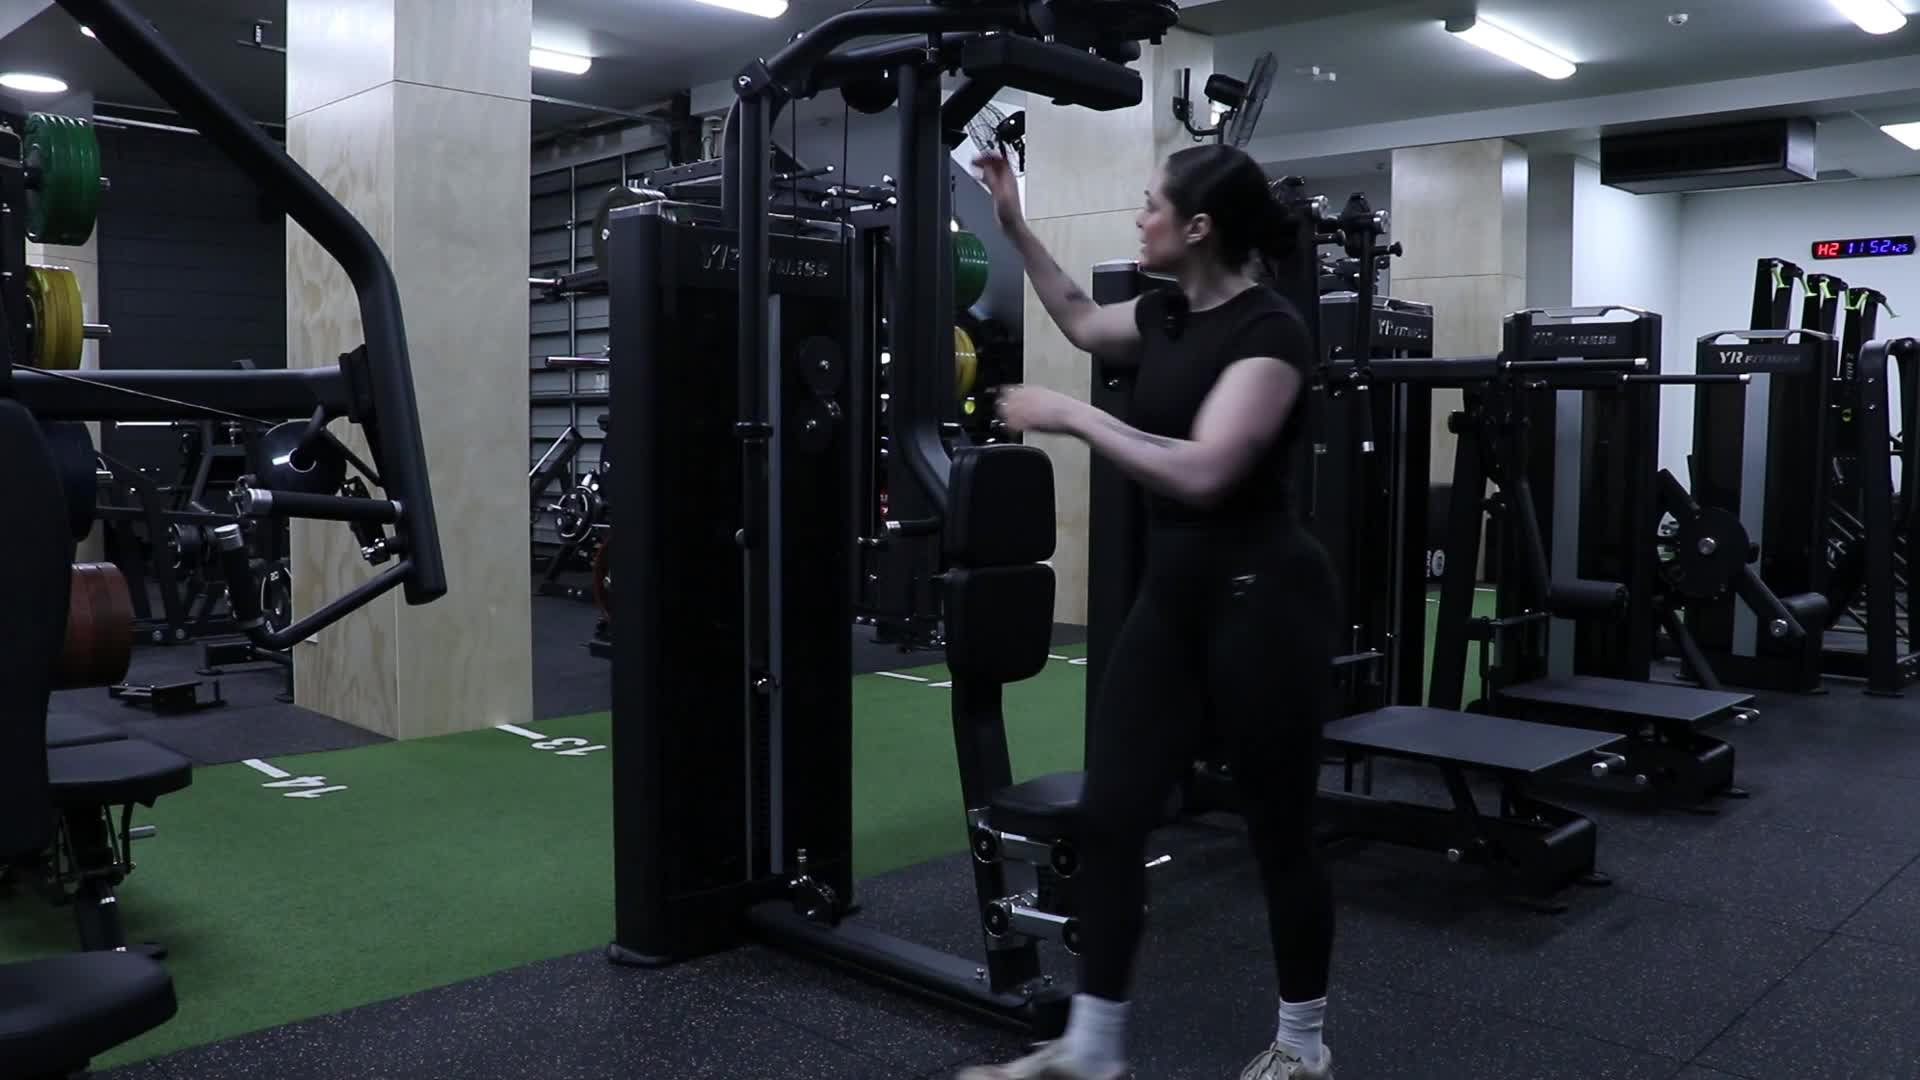
Pectoral/Rear Deltoid Fly Machine
What is it?
The Pectoral/Rear Deltoid Fly Machine is a versatile upper body isolation machine that allows you to train both the chest and rear shoulders from a seated position. By adjusting your arm position and movement direction, you can perform chest flys to target the pectoral muscles or reverse flys to strengthen the rear deltoids and upper back.Primary Muscles Worked
Pectoral Fly:
Chest (Pectorals)
Front Deltoids (Secondary)
Rear Deltoid Fly:
Rear Deltoids
Rhomboids (Middle Back)
Trapezius (Upper & Middle Back)
How to Use
Pectoral Fly: Adjust the seat so your arms are positioned comfortably with the handles at approximately chest height. Sit upright with your back firmly against the pad and grip the handles. Starting with your arms open, bring the handles together in front of your chest by squeezing your pectoral muscles. Slowly return the handles to the starting position under control.Rear Deltoid Fly: Adjust the machine for the reverse fly position and sit facing the opposite direction with your chest supported against the pad. Grip the handles with your arms extended in front of you. Pull your arms outwards and backwards, focusing on squeezing your rear shoulders and upper back. Slowly return the handles to the starting position before repeating.
Coaching Tips
Adjust the seat so the handles are aligned comfortably with your chest and shoulders.
Keep your movements controlled and avoid using momentum.
For pectoral flys, focus on bringing your arms together using your chest rather than your hands.
For rear delt flys, lead with your elbows and avoid shrugging your shoulders.
Keep your body stable against the pad throughout both movements.
Use a comfortable range of motion and avoid overstretching at the start of each repetition.
-
Seated Bicep Curl Machine
What is it?
The Bicep Curl Machine is an isolation exercise designed to strengthen and build the biceps using a controlled curling movement. The machine supports the back of your arms against the pads, helping minimise momentum and allowing you to focus on contracting the biceps throughout the movement. It can also be used one arm at a time for unilateral training.Primary Muscles Worked
Biceps
Brachialis (Upper Arm Muscle)
Forearms (Secondary)
How to Use
Sit comfortably in the chair and position the backs of your upper arms firmly against the pads. Grip the handles with your palms facing upwards and keep your upper arms supported throughout the movement. Curl the handles upwards towards your shoulders by contracting your biceps, then slowly lower the handles back to the starting position under control.For single-arm curls, use one handle at a time and perform the same curling movement with one arm, keeping the opposite side stable.
Coaching Tips
Keep the backs of your arms firmly against the pads throughout the movement.
Keep your upper arms stationary and avoid lifting your elbows.
Focus on squeezing your biceps at the top of each repetition.
Lower the weight slowly to maintain tension on the muscle.
Avoid using momentum or swinging your body to move the weight.
Keep your wrist straight and controlled throughout the movement.
-
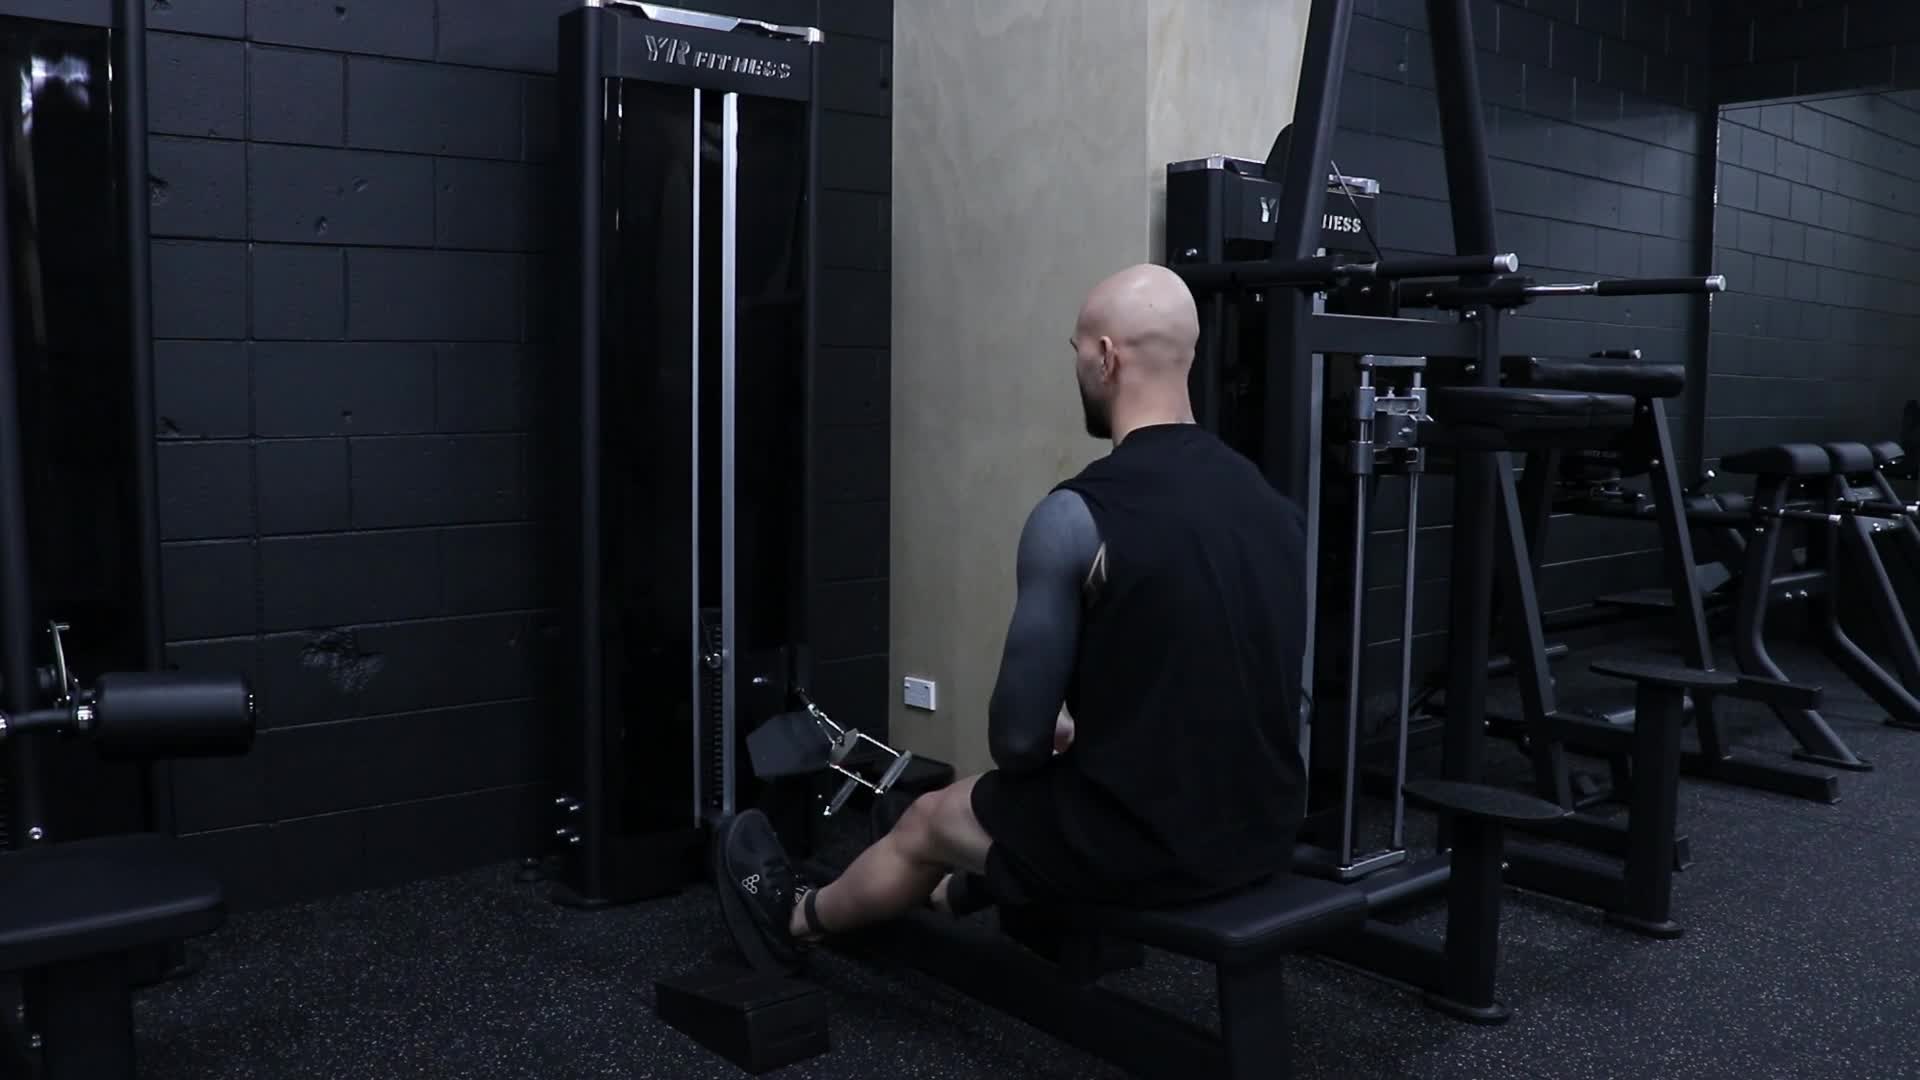
Low Row Machine
What is it?
The Cable Low Row Machine is a compound upper body exercise designed to build strength and muscle through the back and arms. The cable system provides smooth, consistent resistance throughout the movement, allowing you to focus on pulling the handles towards your body while maintaining control.Primary Muscles Worked
Latissimus Dorsi (Lats)
Rhomboids (Middle Back)
Trapezius (Upper & Middle Back)
Rear Deltoids
Biceps
How to Use
Sit with your feet securely positioned against the footrests and grip the handles with your arms extended. Keep your chest lifted and back straight, then pull the handles towards your torso by driving your elbows backwards. Squeeze your shoulder blades together as the handles reach your body, then slowly extend your arms back to the starting position while maintaining control.Coaching Tips
Keep your chest lifted and maintain a neutral spine throughout the movement.
Drive your elbows backwards rather than pulling only with your hands.
Keep your shoulders down and avoid shrugging during the pull.
Squeeze your shoulder blades together at the end of each repetition.
Avoid leaning backwards excessively or using momentum to move the weight.
Allow your arms to fully extend at the start of each repetition for a controlled stretch.
-
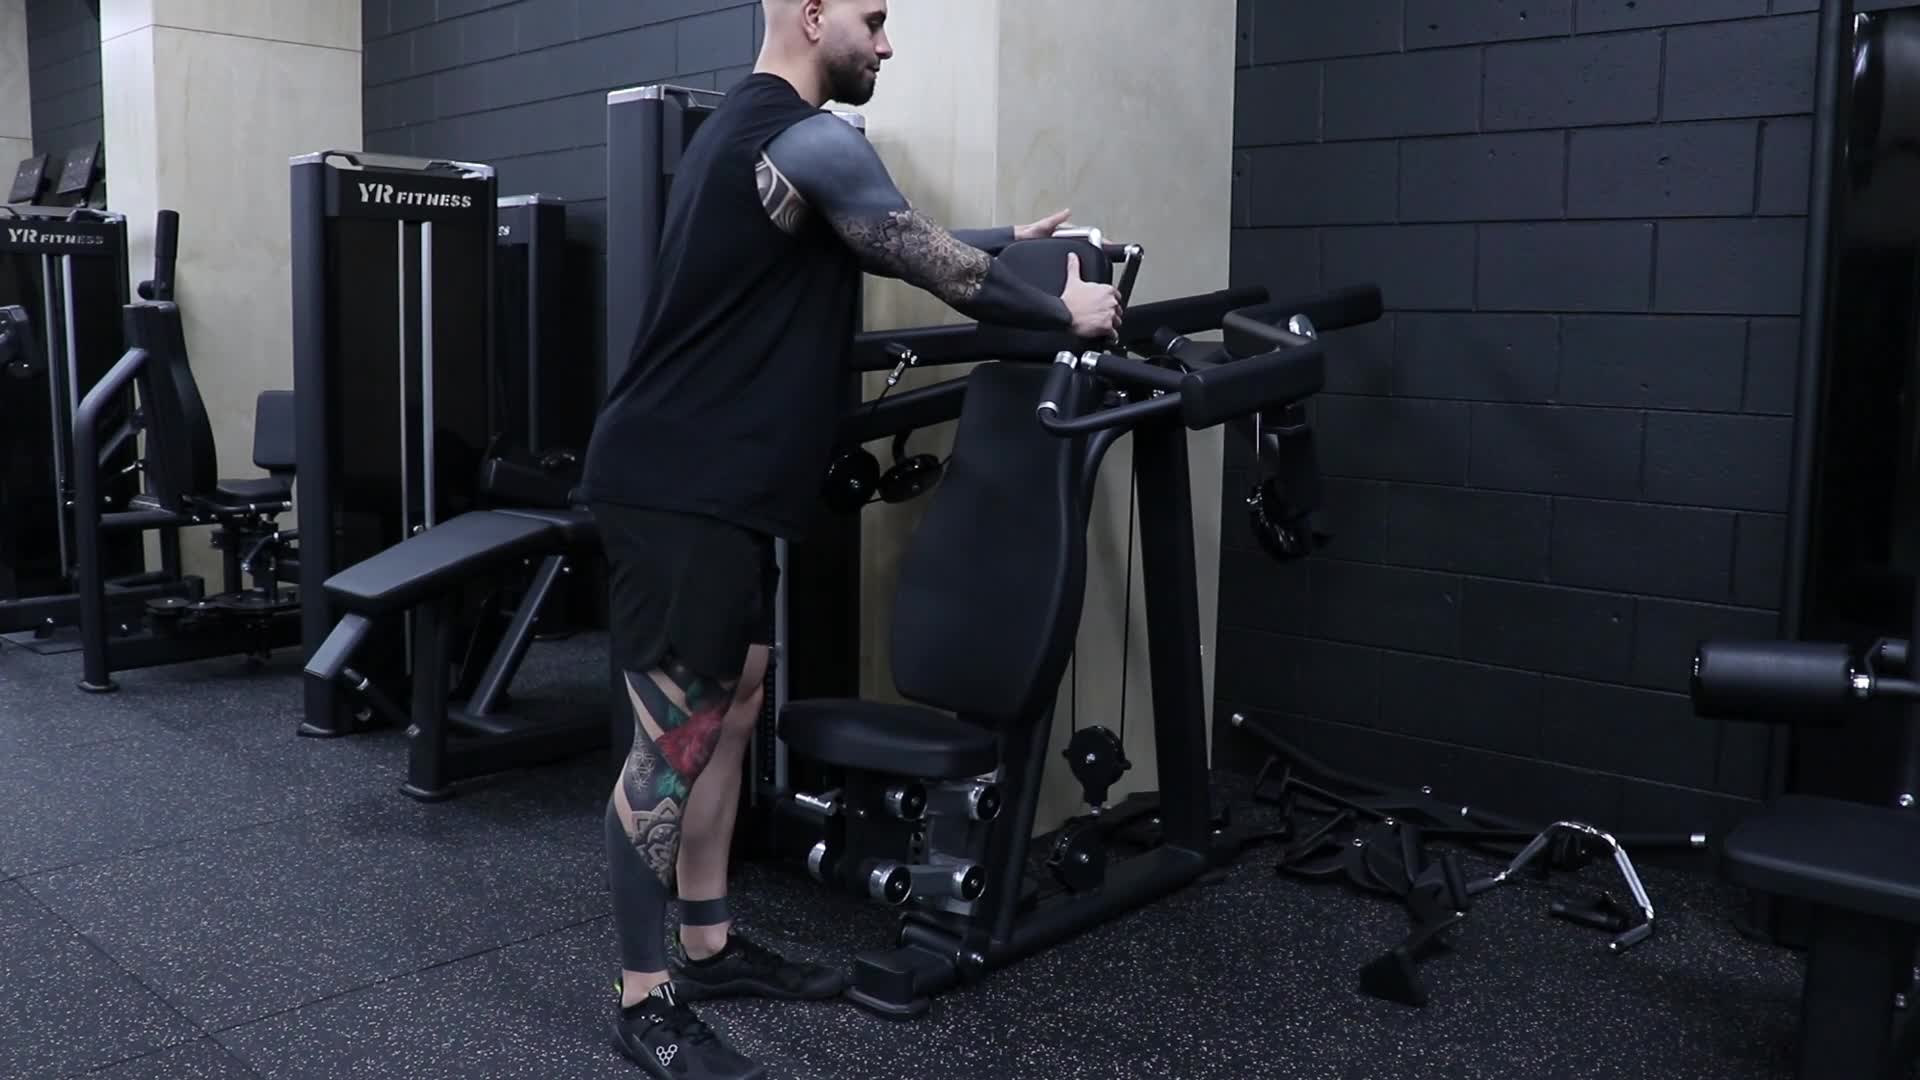
Shoulder & Chest Press Machine
What is it?
The Shoulder & Chest Press Machine is a versatile upper body machine that allows you to perform both lateral raises and chest fly variations. By adjusting the arms into different positions, you can target the shoulders or chest while maintaining a stable and controlled movement.Primary Muscles Worked
Lateral Raise:
Side Deltoids (Lateral Shoulders)
Front Deltoids (Secondary)
Trapezius (Secondary)
Chest Press:
Chest (Pectorals)
Triceps
Front Deltoids (Front Shoulders)
How to Use
Lateral Raise: Adjust the machine arms into the downward position and grip the handles with your arms by your sides. Sit upright with your chest lifted and core engaged. Raise your arms outwards and upwards until they reach approximately shoulder height, keeping your elbows slightly bent. Slowly lower your arms back to the starting position under control. The machine can also be used for single-arm lateral raises, allowing you to train one shoulder at a time.Chest Fly: Adjust the machine arms into the upward position and grip the handles. Lean slightly forward while keeping your chest lifted. Push the handles inward and downwards, focusing on bringing your arms together while squeezing your chest. Slowly return the handles to the starting position under control before repeating.
Coaching Tips
Keep your chest lifted and avoid rounding your shoulders during both movements.
For lateral raises, lead with your elbows and avoid using momentum to lift the weight.
Raise your arms to approximately shoulder height rather than excessively high.
Keep your core engaged during single-arm lateral raises and avoid leaning to one side.
For the chest press, focus on pushing inward and downwards rather than simply pressing forward.
Squeeze your chest at the end of each repetition and control the return movement.
-
Power Smith Flat/Decline Bench
What is it?
The Power Smith Flat/Decline Bench is a versatile strength training station designed for chest pressing movements using a Smith machine. The adjustable bench allows you to perform both flat bench press and decline bench press variations, while the guided bar path provides added stability and control. This makes it a great option for safely building strength and muscle through the chest, shoulders, and arms.Primary Muscles Worked
Chest (Pectorals)
Triceps
Front Deltoids (Front Shoulders)
How to Use
Adjust the bench angle depending on the exercise you want to perform. Set the bench flat for a traditional flat bench press, or adjust it into a decline position to place more emphasis on the lower portion of the chest. Lie back with your feet firmly planted on the floor and position yourself so the bar is directly above your chest. Grip the bar slightly wider than shoulder-width apart, rotate the bar to release it, and lower it towards your chest with control. Press the bar back up until your arms are almost fully extended, then rotate the bar to lock it back into position when finished.Coaching Tips
Keep your shoulder blades pulled back and pressed into the bench for stability.
Keep your feet firmly planted to create a strong base.
Lower the bar under control and avoid bouncing it off your chest.
Adjust the bench angle correctly to target different areas of the chest.
Keep your wrists stacked over your elbows throughout the movement.
Avoid locking your elbows aggressively at the top of each repetition.
-
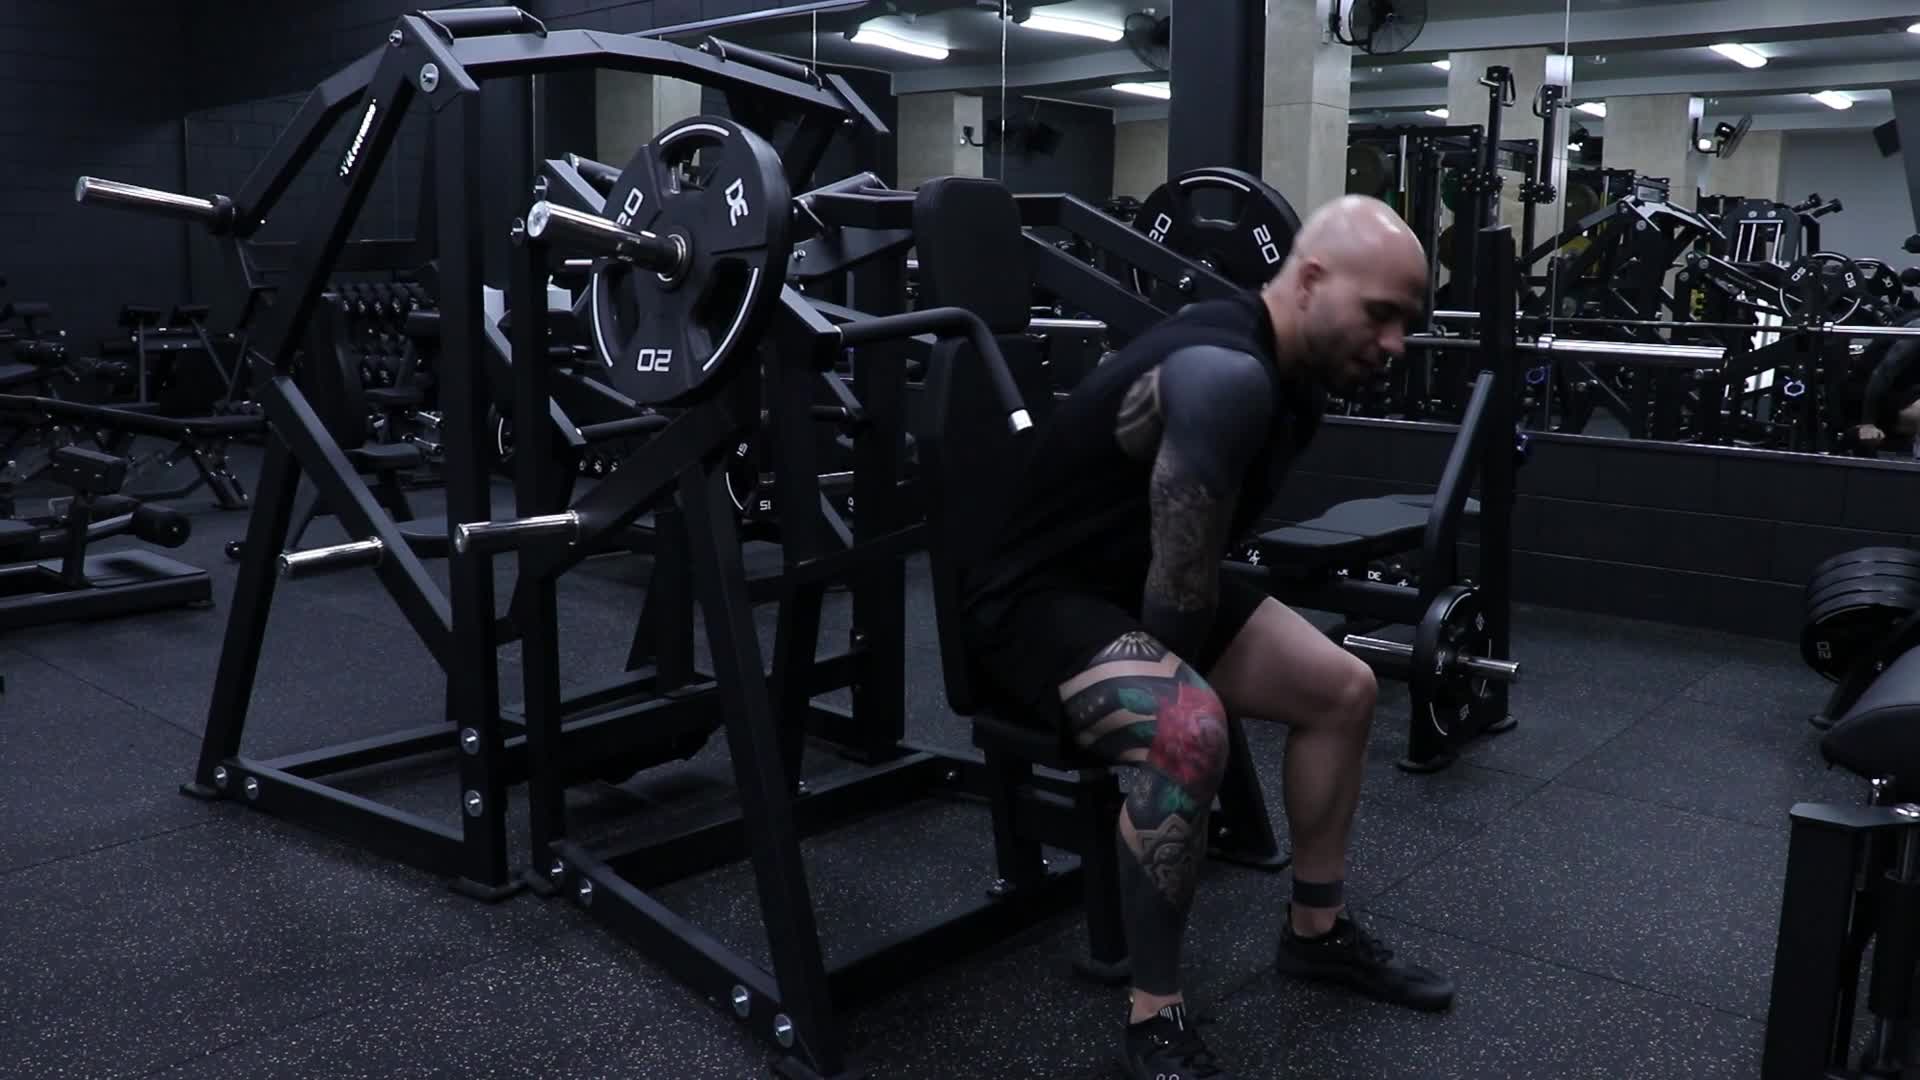
Plate Loaded Isolateral Shoulder Press
What is it?
The Plate Loaded Isolateral Shoulder Press is a compound upper body exercise designed to build strength and muscle through the shoulders and arms. The machine features independent pressing arms, allowing each side of the body to work separately and helping improve muscular balance and control.Primary Muscles Worked
Shoulders (Deltoids)
Triceps
Upper Chest
Upper Back (Stabilising Muscles)
How to Use
Load the desired weight plates onto the machine and adjust the seat height so the handles are positioned comfortably around shoulder level. Sit with your back firmly against the pad and grip the handles with your palms facing forward. Press the handles upwards until your arms are almost fully extended, stopping just short of locking your elbows. Slowly lower the handles back to the starting position under control before repeating.For single-arm presses, use one handle at a time and perform the same pressing movement with one arm. Keep your back and body firmly supported and avoid leaning or twisting as you press.
Coaching Tips
Keep your back and head supported against the pad throughout the movement.
Press smoothly and evenly without using momentum.
Keep your shoulders down and avoid shrugging as you press.
For single-arm presses, keep your core engaged and avoid twisting your body.
Lower the weight under control to maintain tension on the shoulders.
Keep a slight bend in your elbows at the top of the movement.
-
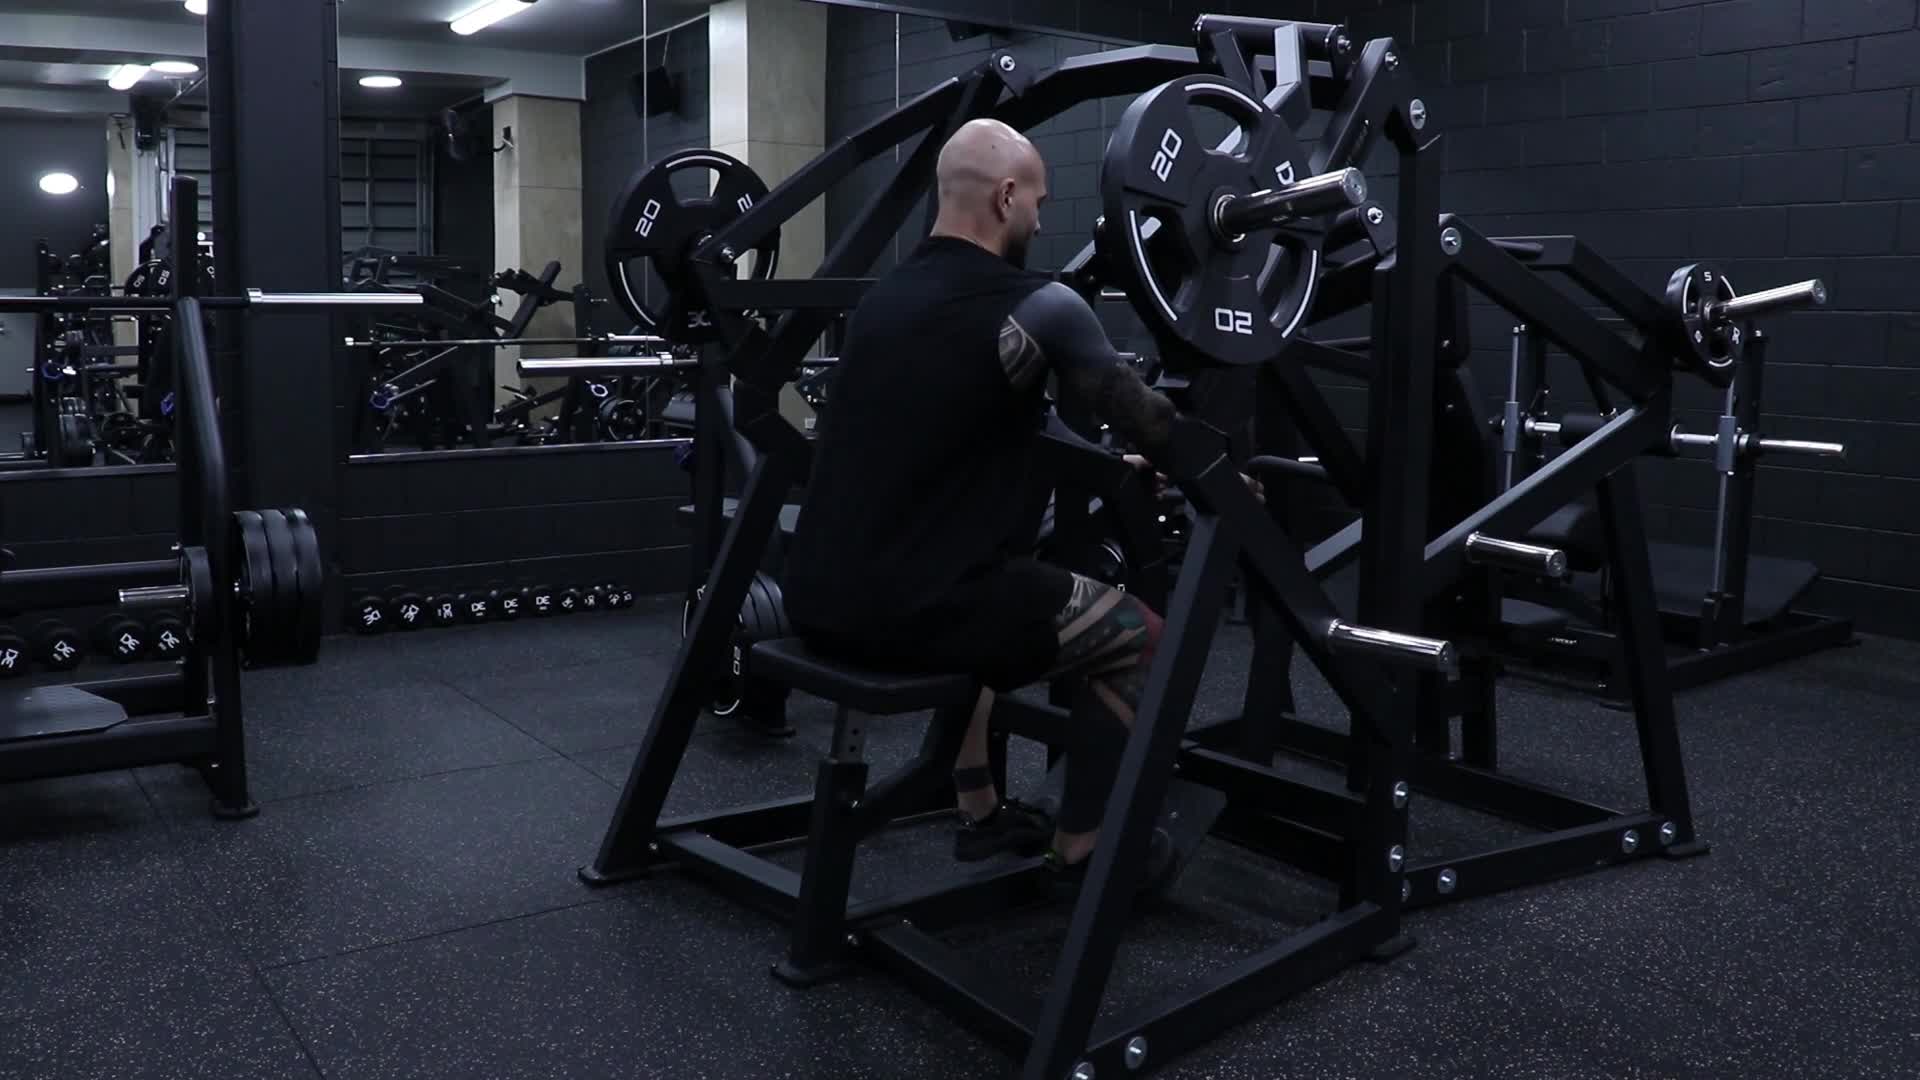
Plate Loaded Isolateral D.Y Row
What is it?
The Plate Loaded Isolateral D.Y Row is a compound upper body exercise designed to build strength and muscle through the back and arms. The machine features two different grip positions, allowing you to vary your hand position and target the back from slightly different angles. Its isolateral design also allows you to perform the exercise one arm at a time, helping improve muscular balance and control.Primary Muscles Worked
Latissimus Dorsi (Lats)
Rhomboids (Middle Back)
Trapezius (Upper & Middle Back)
Rear Deltoids
Biceps
How to Use
Load the desired weight plates onto the machine and adjust the seat so you can comfortably reach the handles. Sit with your chest supported against the pad and select your preferred grip position. With your arms extended, pull the handles towards your body by driving your elbows backwards and squeezing your shoulder blades together. Slowly extend your arms back to the starting position under control before repeating.For single-arm rows, use one handle at a time and perform the same pulling movement with one arm. Keep your chest firmly against the pad and avoid rotating your body as you pull.
Coaching Tips
Keep your chest firmly supported against the pad throughout the movement.
Try both grip positions to find the most comfortable and effective pulling angle.
Drive your elbows backwards rather than pulling only with your hands.
Keep your shoulders down and avoid shrugging during the movement.
Focus on squeezing your back muscles at the end of each repetition.
Keep your body stable during single-arm rows and avoid twisting.
Use a controlled movement and avoid using momentum.
-
Dual-axis Seated Shoulder Press
What is it?
The Dual-Axis Seated Shoulder Press is a compound upper body exercise designed to build strength and muscle through the shoulders and arms. The machine features two different pressing paths, allowing you to choose between different grip positions to target the shoulders from slightly different angles. It can also be used as a single-arm press to train each side independently and help improve muscular balance.Primary Muscles Worked
Shoulders (Deltoids)
Triceps
Upper Chest
Upper Back (Stabilising Muscles)
How to Use
Adjust the seat height so the handles are positioned comfortably around shoulder level. Sit with your back firmly against the pad and select your preferred grip position from the two available pressing paths. Grip the handles and press upwards until your arms are almost fully extended, stopping just short of locking your elbows. Slowly lower the handles back to the starting position under control before repeating.For single-arm presses, use the appropriate single-arm handle and perform the same pressing movement with one arm at a time. Keep your body stable and avoid leaning or twisting as you press.
Coaching Tips
Keep your back and head supported against the pad throughout the movement.
Choose the grip path that feels most comfortable and natural for you.
Keep your shoulders down and avoid shrugging as you press.
For single-arm presses, keep your core engaged and avoid twisting your body.
Press smoothly and avoid using momentum to move the weight.
Keep a slight bend in your elbows at the top of the movement.
-
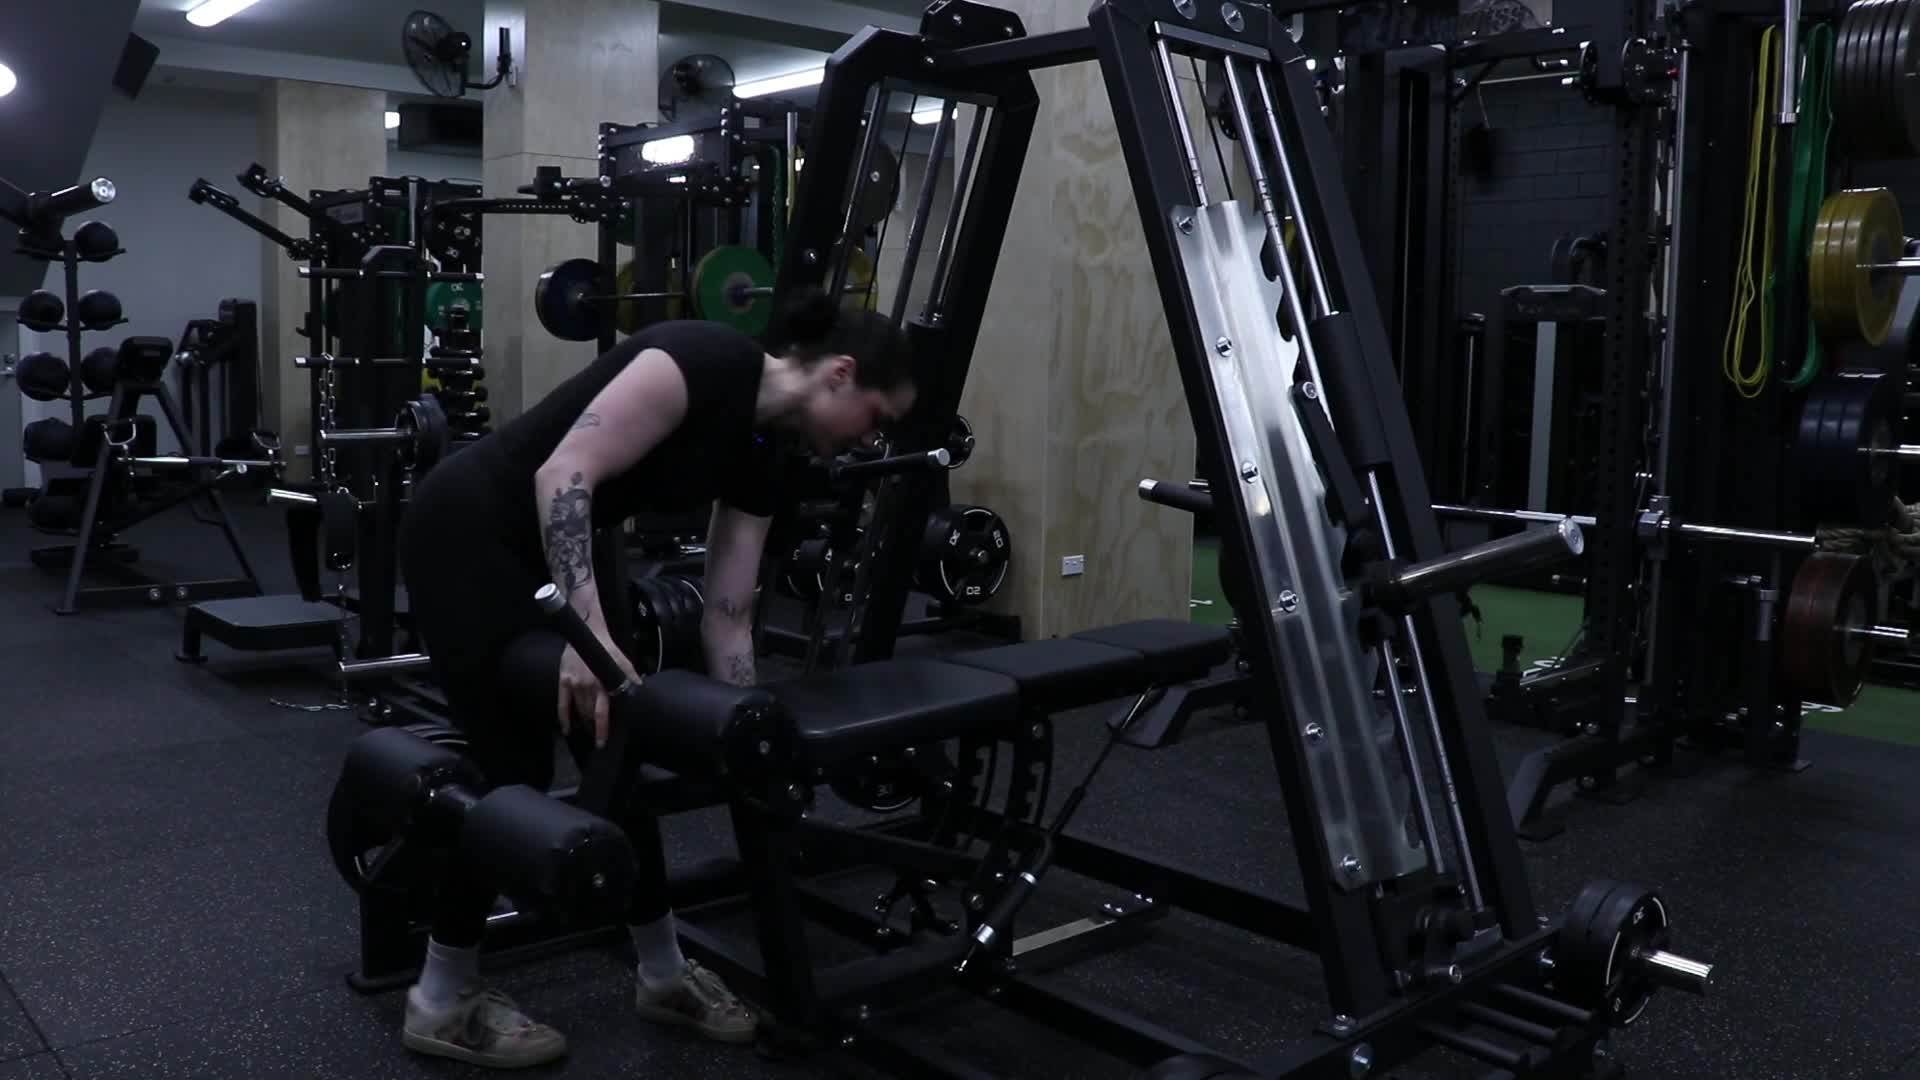
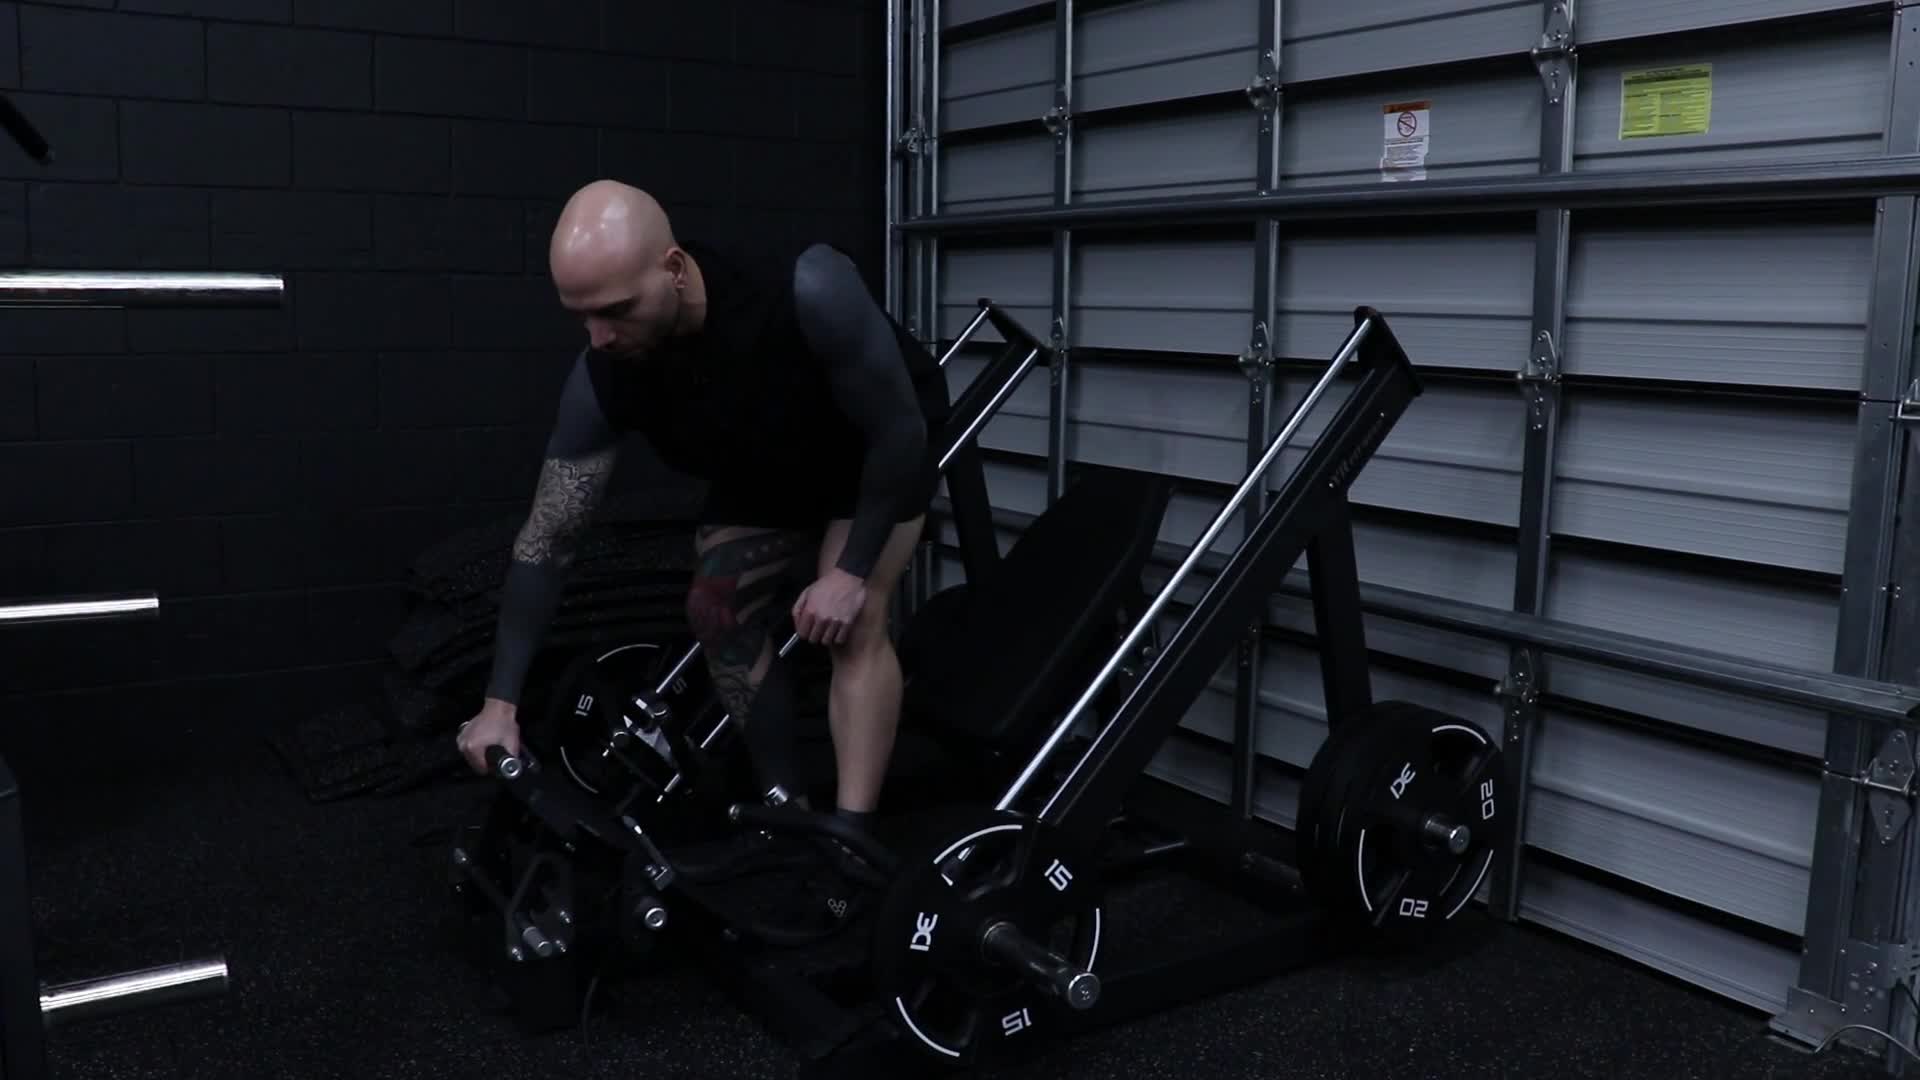
45 Degree Power Smith Seated Isolateral Pullback Machine
What is it?
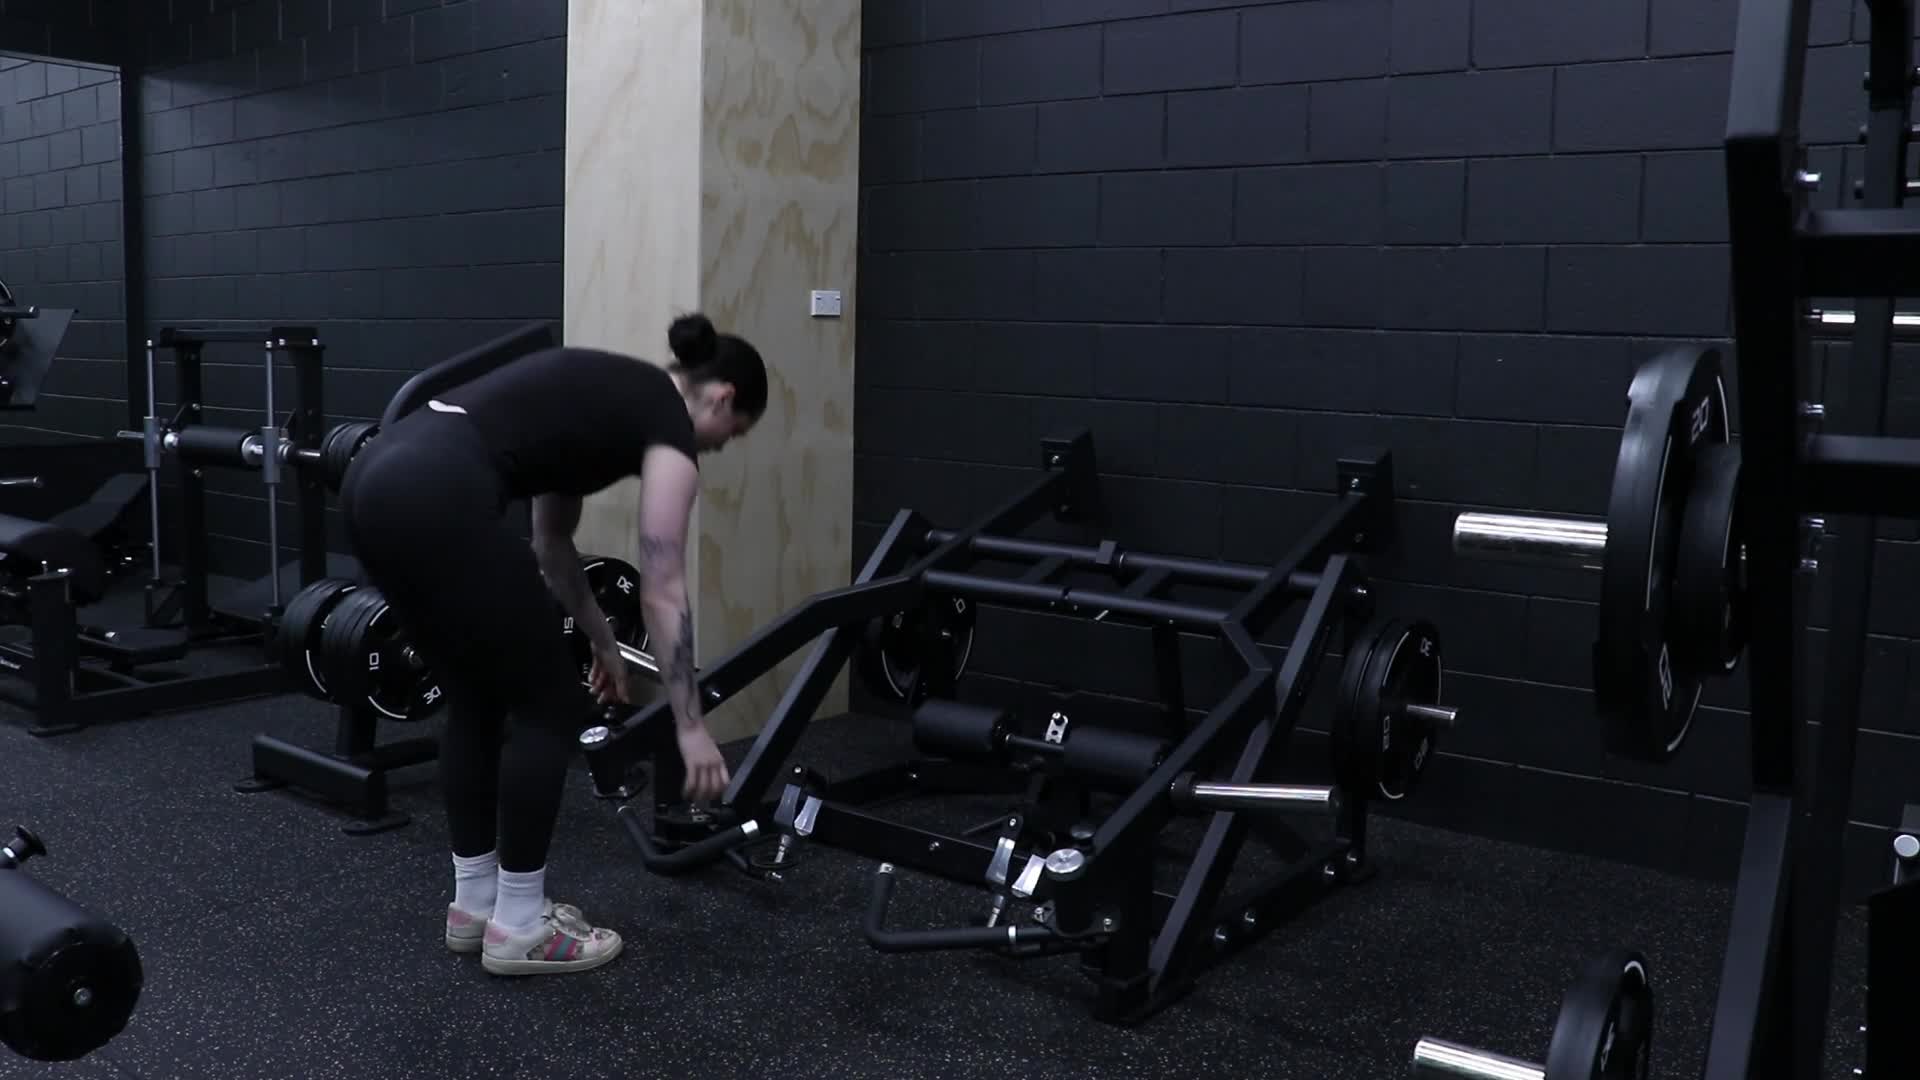
The 45 Degree Power Smith Seated Isolateral Pullback Machine is a versatile strength training machine that can be used for both lower and upper body exercises. It allows you to perform Romanian deadlifts, straight leg deadlifts, back row variations, and single-arm variations of both movements. The back pad provides additional stability by supporting your legs throughout the exercises, helping you maintain a controlled and consistent movement.Primary Muscles Worked
Romanian / Straight Leg Deadlift:
Hamstrings
Glutes
Lower Back (Erector Spinae)
Core
Back Row:
Rhomboids (Middle Back)
Latissimus Dorsi (Lats)
Trapezius (Upper & Middle Back)
Rear Deltoids
Biceps
How to Use
Romanian / Straight Leg Deadlift: Position yourself with your legs resting firmly against the back pad and your feet planted securely. Grip the handles with your arms extended and maintain a slight bend in your knees. Push your hips backwards and hinge forward at your hips, lowering the weight while keeping your back neutral. Lower until you feel a comfortable stretch through your hamstrings, then drive the weight upwards, guided by the smith machine path, squeeze your glutes to return to the starting position. The movement can be performed with both arms or converted to a single-arm variation.Back Row: Position your legs firmly against the back pad and grip the handles with your arms extended. Pull the handles towards your body by driving your elbows backwards and squeezing your shoulder blades together. Keep your chest and legs stable against the support and slowly extend your arms back to the starting position. The machine can also be adjusted to perform the row one arm at a time.
Coaching Tips
Keep your legs firmly against the back pad to maximize stability throughout each movement.
For deadlifts, focus on pushing your hips backwards rather than squatting down.
Keep your back neutral and avoid rounding your spine during the deadlift variations.
For rows, drive your elbows back rather than pulling only with your hands.
Squeeze the targeted muscles at the end of each repetition.
Use controlled movements and avoid using momentum.
Start with a manageable weight when using the single-arm variations.
-
Multifunction Trainer
What is it?
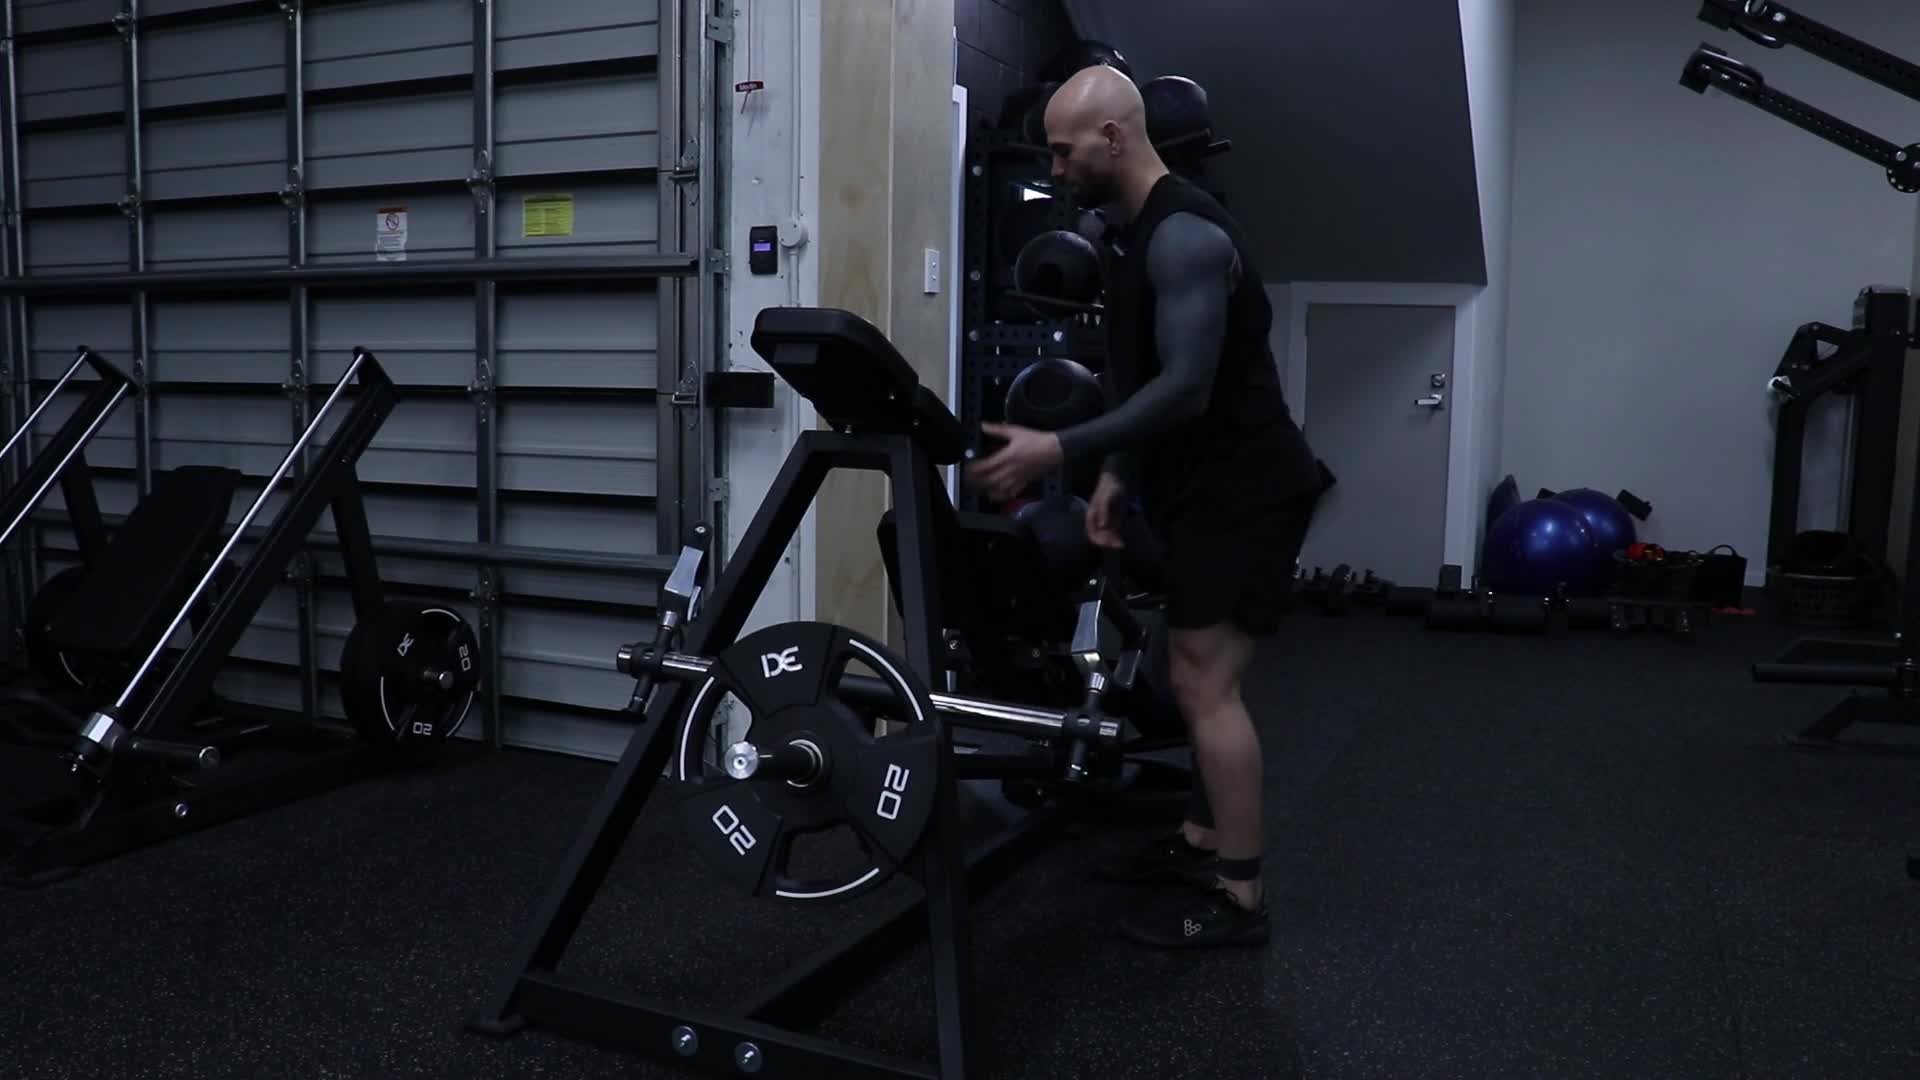
The Multifunction Trainer is a versatile strength training machine that allows you to perform a range of lower and upper body exercises from one station. It can be used for sissy squats, deadlift variations, row variations, and shrugs, with both bilateral and single-arm options available. The adjustable attachments allow you to change the machine to suit different exercises and training preferences.Primary Muscles Worked
Quadriceps
Glutes
Hamstrings
Lower & Upper Back
Latissimus Dorsi (Lats)
Trapezius
Biceps
Core
How to Use
Sissy Squat: Pull the leg support out from the middle section of the machine and position your feet securely. Place your legs against the support. Slowly bend your knees and lean your upper body backwards, allowing your knees to travel forward while keeping your hips extended. Lower yourself to a comfortable depth, then drive through your feet to return to the starting position.Deadlift Variations: Use either set of arms located towards the front of the machine and select your desired weight. Stand with your feet about shoulder-width apart and grip the handles. Hinge at your hips while keeping your back neutral and lower the weight towards the floor. Drive through your feet and extend your hips to return to a standing position. The centre lever can be used to convert the machine to a single-arm option for unilateral deadlift variations.
Row Variations: Grip the handles with your arms extended and maintain a stable stance. Pull the handles towards your body by driving your elbows backwards and squeezing your shoulder blades together. Slowly extend your arms back to the starting position under control. The centre lever can be used to select the single-arm option, allowing you to perform rows one side at a time.
Shrugs: Stand upright and grip the handles with your arms hanging naturally by your sides. Keep your arms straight and raise your shoulders directly upwards towards your ears, squeezing your trapezius at the top of the movement. Slowly lower your shoulders back down before repeating. The centre lever can also be used to perform single-arm shrugs.
Coaching Tips
Adjust the machine and attachments securely before beginning each exercise.
Keep your core engaged and maintain good posture throughout each movement.
For deadlifts, focus on hinging through your hips rather than squatting down.
For rows, drive your elbows back and avoid shrugging your shoulders.
For shrugs, move your shoulders straight up and down rather than rolling them.
Use controlled movements and avoid using momentum to move the weight.
Start with a manageable weight until you are comfortable with each exercise variation.
-
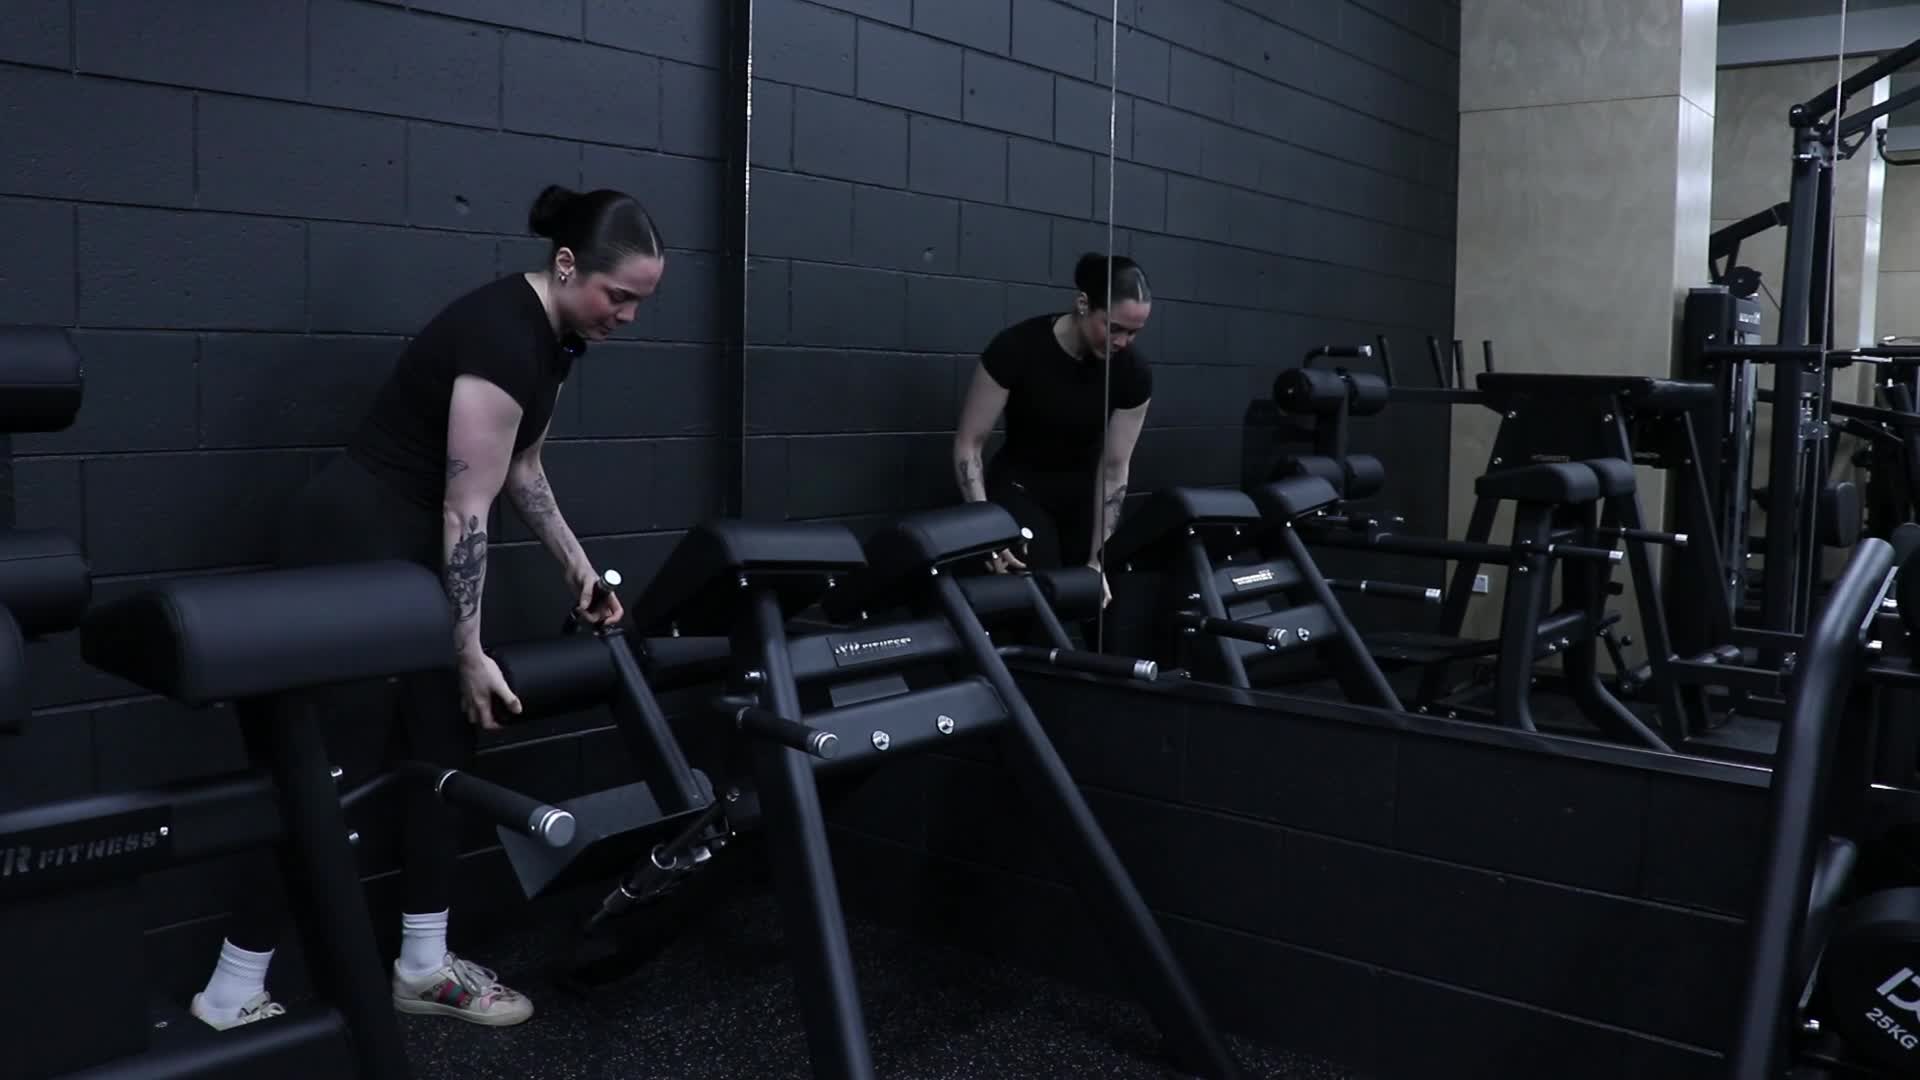
Horizontal Adjustable Roman Chair
What is it?
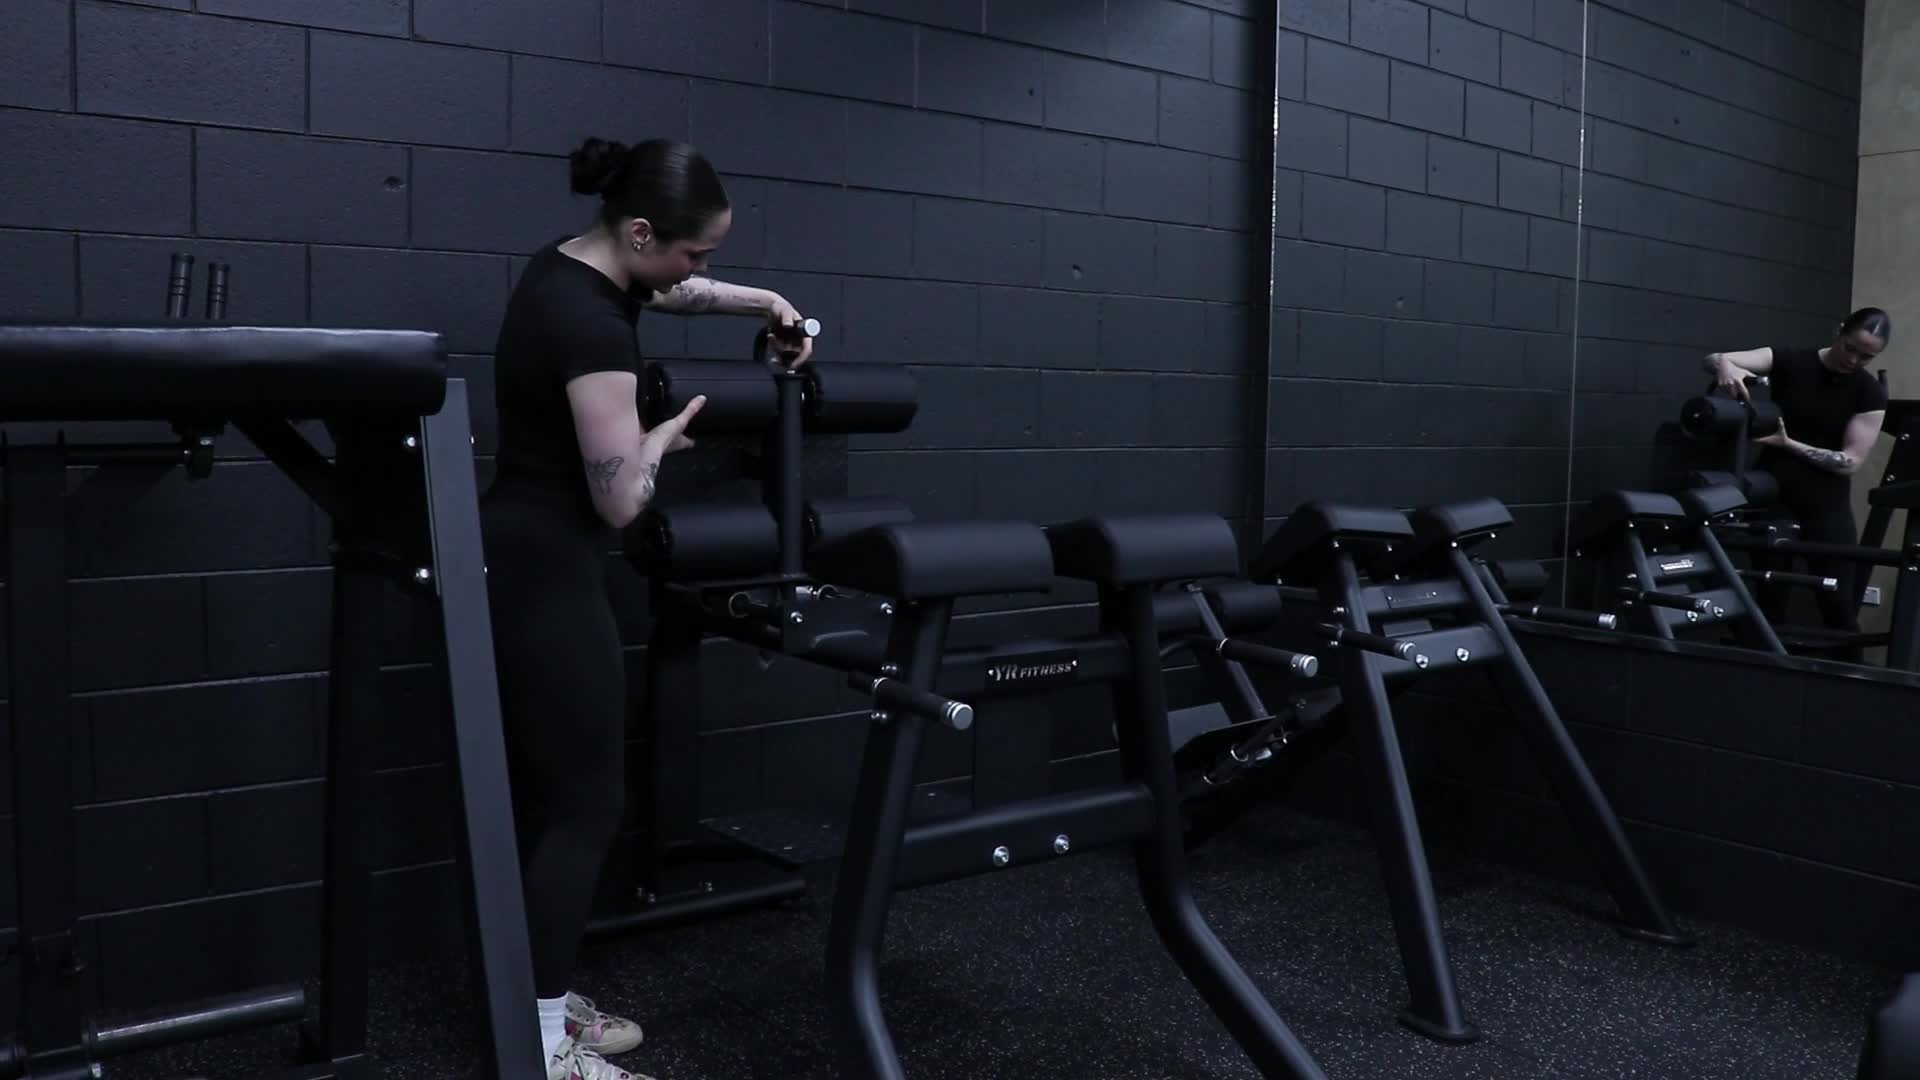
The Horizontal Adjustable Roman Chair is a bodyweight training station designed to strengthen the muscles of the posterior chain through controlled back extension movements. It can also be used for a variety of core exercises, making it a versatile piece of equipment for improving lower back strength, posture, and core stability.Primary Muscles Worked
Lower Back (Erector Spinae)
Glutes
Hamstrings
Core
How to Use
Adjust the footplate and thigh pad so your hips are positioned just beyond the edge of the pad, allowing your upper body to move freely. Secure your feet under the foot rollers and cross your arms over your chest or place your hands behind your head. Lower your upper body towards the floor by hinging at your hips, then contract your glutes and lower back to raise yourself back to the starting position.Coaching Tips
Keep your spine neutral throughout the movement.
Hinge from your hips rather than rounding your back.
Raise your body only until it forms a straight line with your legs.
Move slowly and under control to maximise muscle engagement.
-
45 Degree Power Smith Seated Isolateral Pullback Machine
What is it?
The Power Smith Flat/Decline Bench is a versatile upper body exercise station that allows you to perform both flat and decline bench presses using a guided Smith machine bar. The adjustable bench provides a stable pressing position, allowing you to target the chest, shoulders, and triceps while safely controlling the weight.Primary Muscles Worked
Chest (Pectorals)
Triceps
Front Deltoids (Front Shoulders)
How to Use
Adjust the bench into either the flat or decline position depending on the exercise you want to perform. Lie back with your feet firmly planted on the floor and position yourself so the bar is directly above your chest. Rotate the bar inward while pushing it upward to disengage it from the rack. Lower the bar towards your chest with control, then press it back up until your arms are almost fully extended. When finished, rotate the bar back into the rack to safely re-engage the catches.Coaching Tips
Adjust the bench securely into the desired flat or decline position before starting.
Keep your shoulder blades pulled back and pressed into the bench for stability.
Keep your feet firmly planted to create a strong base.
Lower the bar under control and avoid bouncing it off your chest.
Keep your wrists stacked over your elbows throughout the movement.
Avoid locking your elbows aggressively at the top of each repetition.
-
Chest Supported Row
What is it?
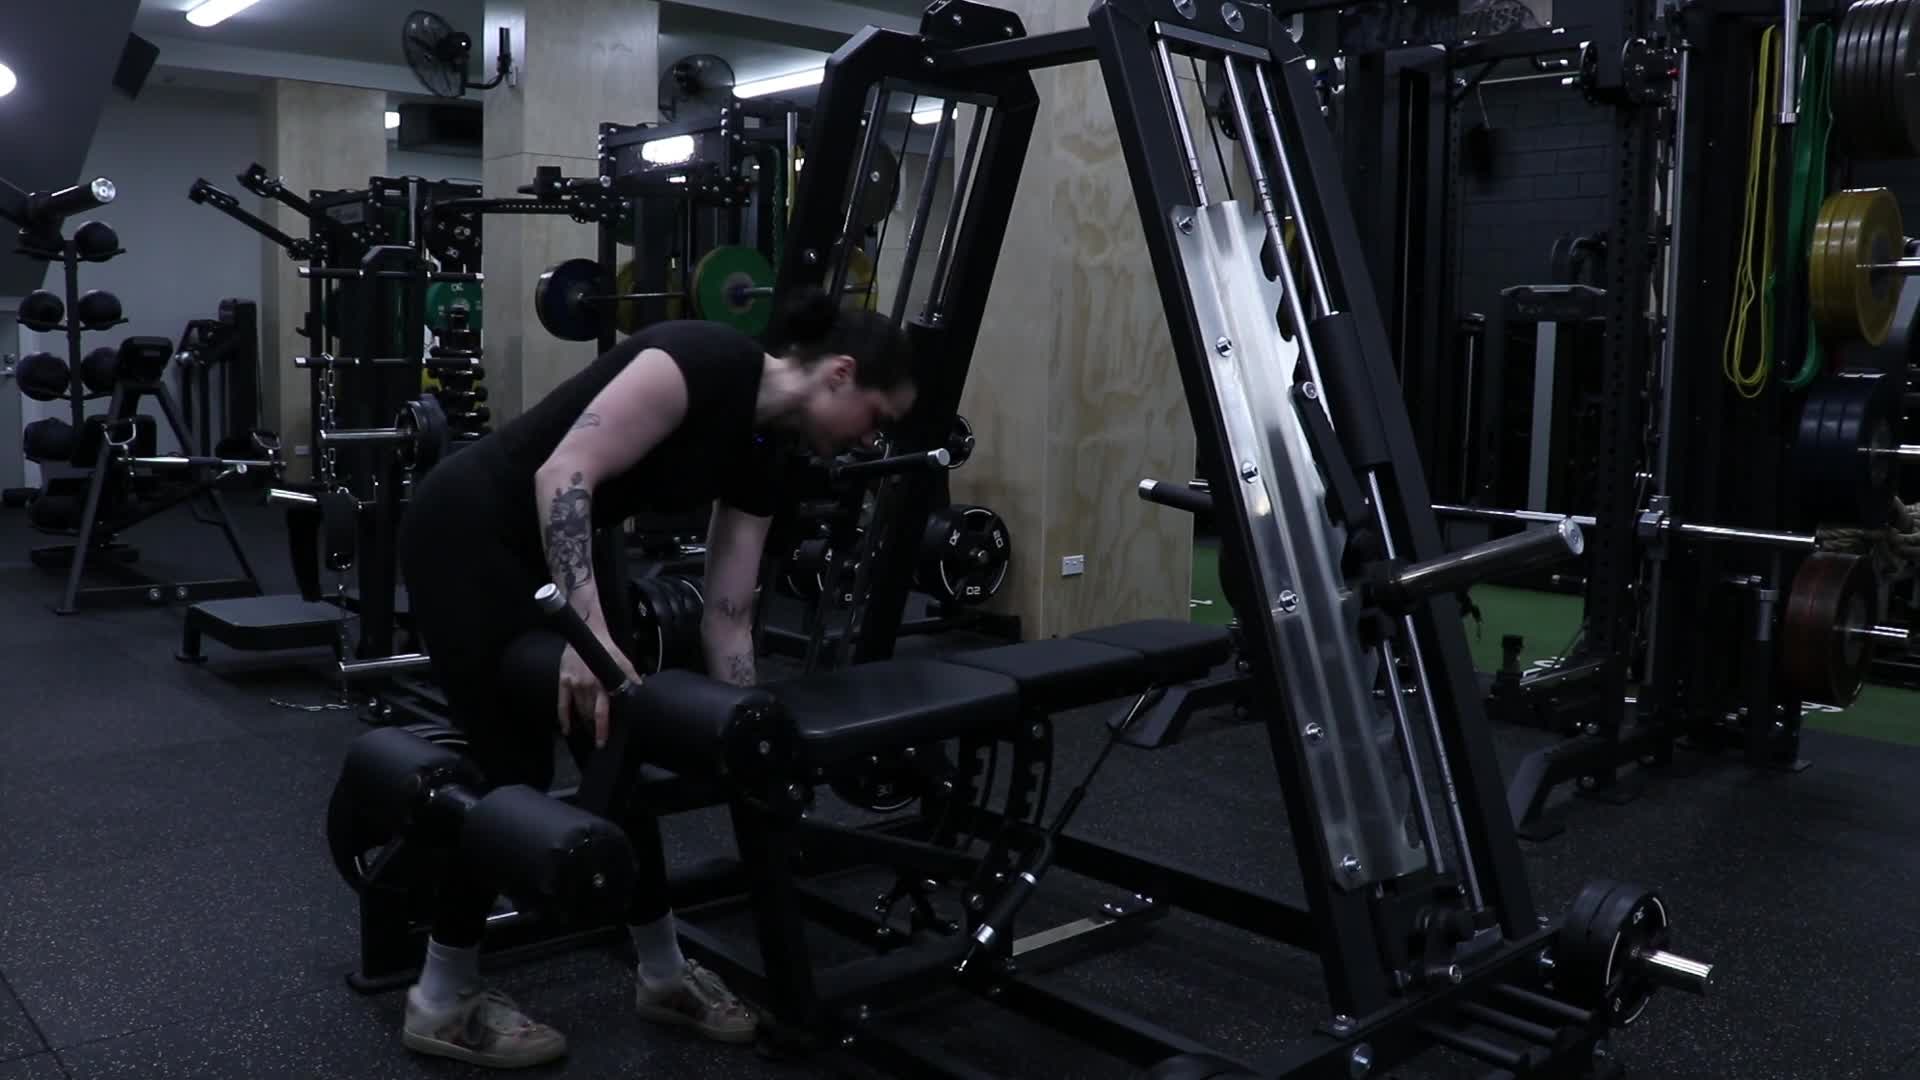
The Chest Supported Row is a compound upper body exercise designed to strengthen and build the muscles of the back. The chest support provides stability throughout the movement, allowing you to focus on pulling with your back while reducing the amount of momentum and lower back involvement.Primary Muscles Worked
Latissimus Dorsi (Lats)
Rhomboids (Middle Back)
Trapezius (Upper & Middle Back)
Rear Deltoids
Biceps
How to Use
Adjust the seat and chest pad so you can comfortably reach the handles with your arms extended. Sit or lie against the chest pad with your feet firmly planted and grip the handles. Pull the handles towards your body by driving your elbows back and squeezing your shoulder blades together. Slowly extend your arms back to the starting position under control before repeating.Coaching Tips
Keep your chest firmly against the pad throughout the movement.
Drive your elbows back rather than pulling only with your hands.
Keep your shoulders down and avoid shrugging.
Squeeze your shoulder blades together at the end of each repetition.
Allow your arms to fully extend at the start of each rep.
Use a controlled movement and avoid using momentum.
-
45 Degree Roman Chair
What is it?
The 45 Degree Adjustable Roman Chair is a lower body and core exercise station designed to strengthen the muscles of the posterior chain. It can be used for controlled back extensions, helping develop strength in the lower back, glutes, and hamstrings while also improving core stability.Primary Muscles Worked
Lower Back (Erector Spinae)
Glutes
Hamstrings
Core
How to Use
Adjust the footplate and thigh pad so your hips are positioned just beyond the edge of the pad, allowing your upper body to move freely. Secure your feet under the foot rollers and position your thighs comfortably against the pad. Cross your arms over your chest or place your hands behind your head. Slowly lower your upper body towards the floor by hinging at your hips, then contract your glutes and lower back to raise yourself back to the starting position.Coaching Tips
Keep your spine neutral throughout the movement.
Hinge from your hips rather than rounding your back.
Keep your core engaged and maintain control throughout the movement.
Raise your body only until it forms a straight line with your legs.
Avoid overextending your lower back at the top of the movement.